Showing posts with label tag. Show all posts

Monday, November 19, 2018

Tag in boho style

Hello everyone,

for todays inspiration I prepared a tag. My inspiration was a moodboard from our newest challegne.


I've made a mixed media backround using many piece of paper, white gesso, stencil and mists. My decoration I've made with papers elements. And my tag was ready.


I've made for you a video with creating procces.


Hugs,

Dawid


Monday, October 9, 2017

Mixed Media Tag with Video with Lisa-Marie

Hi fellow artists and fans of off The Rails Scrapbooking!
Lisa-Marie here!  I'm so very, very excited to be on this amazing team and I'm very grateful for this opportunity!  I am EVEN MORE excited to be able to share with you today, my very first tutorial for a Mixed Media Tag I designed and made especially for Off The Rails Scrapbooking!
I'm an absolute sucker for texture and dimension (and making a messy mess!), as can plainly be seen with this tag.  I've included some of the 'after' photo's further down in this blog post, just for the sake of showing you some better 'close-up' shots. I do hope that I can inspire you with this tag!
Here is my video tutorial:


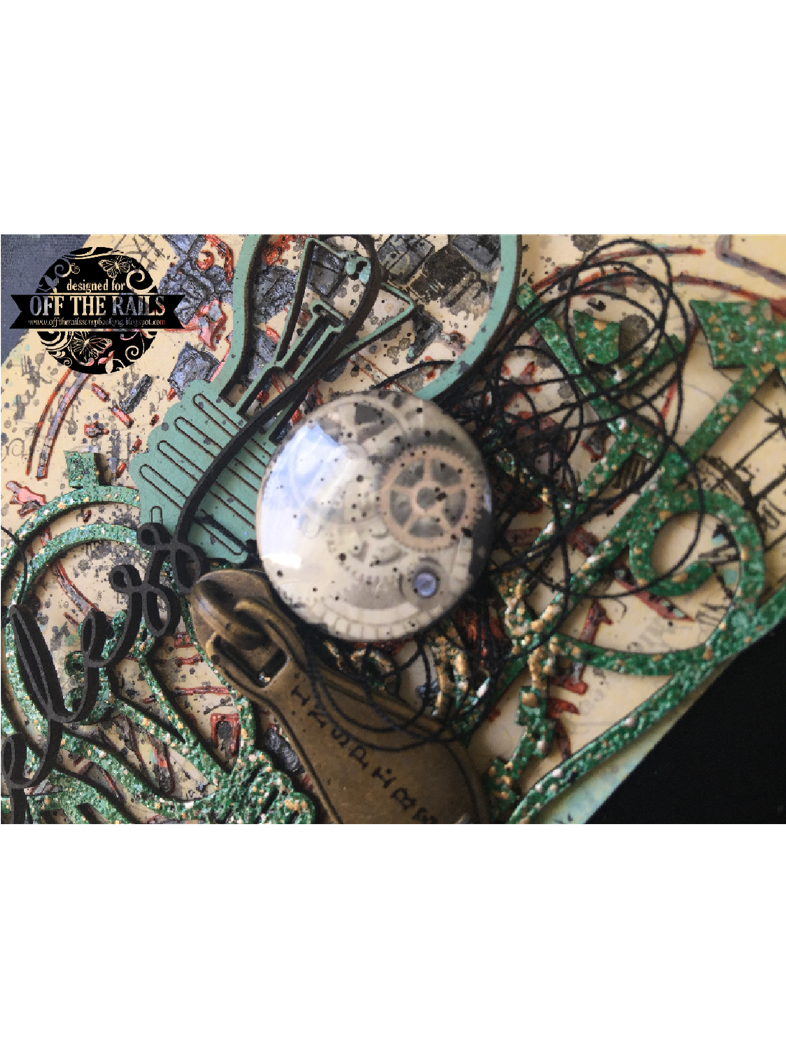
And here are some close up images:


Happy creating!
Yours in arts & craft,
Lisa-Marie

Thursday, September 21, 2017

Steampunk tag tutorial + process video with Emma

Hi 
Welcome to the middle of September 😉 
Today I'm sharing a quick little video of this tag I have made. 


Still inspired by the steampunk theme I had fun making a tag for something a little different. 


I'd love you to check out my video here: 


This months moodboard to inspire you:


To create a background, I've added texture paste through a stencil, Distress Oxide Ink and stamping.


Then building layers, I've added lots of textural elements - heat embossed chipboard, metal trinkets and flair buttons.


Lastly a quote that fit's in nicely with the steampunk theme.


Can't wait to see your creations. 
Till next time, Em xx


Monday, January 23, 2017

Dawid's mixed media tag tutorial + video

Hello everyone.

Today I decided make a mixmedia tag. I made a video, where you can see, how I made them.


And my video for you.


Hope you like it,

thank you for visiting

Dawid

Tuesday, December 22, 2015

Beautiful Christmas tag from Anguree

Hello everyone


It's Anguree, on the blog today and I am absolutely thrilled to be joining this team of talented designers.

So for my first tutorial,  I decided to share some tips on how to make a tag for someone special this Christmas. I just loved the pink and blue mood board which is something different than the traditional red, green and brown.


I started off with a blank tag from Kaszazz. If you don't have any tags in your stash, just cut a plain rectangular piece of cardstock and snip off the ends on the top.


I decided paint my tag, using the Tim Holtz, Distress Paints by Ranger, but you could use any other quick drying acrylic paint of your choice.  My colour choice included following Distress Paints: Stormy Sky, Salty Ocean , Antique Linen and Spun Sugar.


Wet your paintbrush in water and get off any excess water by drying it a little with a wet wipe. Dip into a bit of stormy Stormy Sky Paint and roughly brush some strokes on your tag.


Fill in your brush strokes with the Salty Ocean.


Clean your brush and follow the same pattern, filling in gaps with Spun Sugar Paint. Use the same method and add the Antique Linen paint.


Once the paint is dry, use a script stamp with Archival ink and stamp randomly on the left side of the tag. (I used Magnesia blue)


Use a Stencil and add some modelling paste. Dry with a heat gun. (Apologies for a very messy stencil - I do clean them but black is a tough one to get clean ;) )


Gather some embellishments from your stash. For my tag, I just used some leftover die-cut pieces, an empty little jar, which previously contained micro  beads, a leftover piece of chipboard and leftover flowers. So I used nothing new or precious. Just scrap bits of paper and little odds and ends I did not end up using for previous projects. So here's the tip: Get yourself a junk tin and chuck in all leftover bits next time you clean up after doing a layout. Leftovers in a junk tin can be a real money saver and treasure trove.


                       Paint your chipboard. I used Viva 3D Stamp Paint Silver.


Fill the little jar with some glitter to resemble the magic of Christmas.

Arrange your embellishments on the tag and  adhere with 3D gel or any other glue of your preference. 
Add some bling stripes to "hang" your embellishments. (Again I used an old opened packet.) You will note I changed a tiny detail of bling  on the bottom while arranging and assembling the embellishments. This is normal for me, I do things, and then change it again before it's finished. 


Add a touch of coarse glitter using a paint brush and some  soft gel medium.


Hide any embellishments that you stuck on the back of the tag or paint by sticking another tag of the same size on the back of the tag. This will also give a little more support to a tag that may me a bit embellishment heavy.  


Punch a hole in the top of your  tag using a crocodile or single hole punch.


Set the eye lit and grab a string or chain as I did. Using a piece of chain, I  had to use a tiny jumping from my stash. (Yes I dabbled into beads and jewellery making some years ago )


And there you have it., all done. Please play along this month and share your take on the mood board.


Hoped you enjoyed this time with me and look forward chatting to you again in February. Wishing you a Merry Christmas and Happy New Year. May you really enjoy this time with your family and friends.


Cheers

Anguree

Sunday, September 27, 2015

A Sweet Gift

Hi Off the Rails fans! Sue here with you, and today I am sharing a super sweet gift I made for a friend.

As we are currently in the midst of our strawberry season here, I have been busy cooking lots of strawberry jam to make the most of them while they are plentiful. Besides storing it away for my family to enjoy throughout the coming year, I also think it makes a lovely homemade gift for friends.

Of course, no gift is complete without a bit of fancy wrapping though...


To dress the jar, I started by cutting a circle of paper to fit on top of the lid, which I attached simply with double-sided tape. (Lucky I had these old Cosmo Cricket papers stored away, they were perfect!)
Next, I attached some self-adhesive lace tape around the edge of the lid and then topped with a flower.


I made a matching tag for the jar by cutting a tag shape from the polka dot paper, which I topped with an image cut from the strawberry paper. I then adding the sentiment using a tape writer and a small paper flower.


After that, it was simply a matter of tying the tag to the jar using twine. I also added a small heart shaped resin button as a hanging charm.

Besides making the jam, this was a quick and easy way to put together a sweet handmade gift for a friend. I think these would also make a lovely teacher appreciation gift.
Til next time, happy scrapping! X

Thursday, December 4, 2014

Lizzy introduces us to "UTEE"

Hey there! Do you know Utee? Nope, it's not a person! It stands for Ultra Thick Embossing Enamel....& it's just that. It comes in a range of colours, but I only have the clear one. I really like the thick, glossy effect it gives when heat set. 
Here's how I used it for a simple Chrissy tag, using up some BUTTONS.
 The crystals are MUCH coarser than 'normal' heat embossing powders & you're best to heat set from UNDERNEATH so they don't blow off everywhere!
Above is a sample, but for this tag, I mixed some normal Gold embossing powder in with the UTEE, to get the effect below:
 I used a damp piece of old foam spritzed with Heidi's spray colours to colour the manila tag [which was also lightly dampened with water]...
these are the TRUE colors, below...
 ...for some reason, the rest of the photos turned out wishy-washy colour wise....??? Who KNOWS!!!
Poked the holes through when I popped my buttons into the places they looked 'right'...
  My trickster way of attaching threads! I mean....knots to tie thread? That would be, like, waaay too hard for this sewer-hater! Besides, this was heading to being attached to the front of a card, so no-one will see the back.
IF it's going to be a 'stand alone' tag, then you just need to thread the button first, tie a knot behind the button, & then use a hot glue gun or strong PVA glue to attach to your tag. Or not even USE thread. They look nice just as they are, too:)
 A bit of diagonal washi tape for pop.....& it's finished. Simple, neat, easy, effective AND a stash buster for a few more of those buttons!!!! Hope this inspires your creativity in one way or t'other...
...& can I just wish you, one and all, a most amazing, wonderful, joyful, peaceful, fun & happy Christmas....
BLESSINGS to each & everyone one of you out there ~ Lizzy ♥♥♥

Tuesday, September 23, 2014

You are Beautiful

Rose has created a stunning tag using 
our current mood palette (still have 8days left to enter)


So much going on but it all goes together wonderfully. My favourite piece would have to be the clock.

For this challenge we are offering you a chance to shine in our


Happy Creating