Hi there, my scrappy friends:)
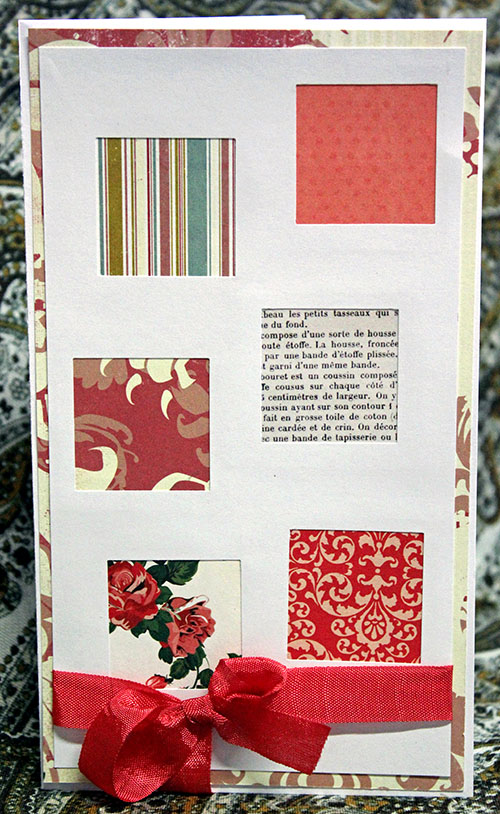
Today I thought I'd take you on a creative journey...starting with a simple punched card. Even the UN-card maker peeps out there will be able to make these! Then, I'm going to take you beyond to something more;)
OK. I'm sure you've all got a load of punches lurking round...find a shape one - like a circle or square...this technique is best for taller, skinny cards. Do this to your piece of cardstock that you've cut to fit inside front of your card:
Next, take one of the punched out squares & using that STASH, match up 6 patterned papers & cut them slightly bigger than the square. Don't be fussy - you won't see the edges:)
Now simply stick these behind the 'windows' you've created. Here's the back [wrong] side:
And here's the other side, finished...you can add any number of embellies to this basic design:
Can you see I've made my 'window' card stock small enough that another layer fits behind it on the card as well? Soooooo....I quite enjoyed this....& thought I'd do a similar thing with my circle punch for a male card...using the same technique:
FAB stash busting! And I've finished with a bit of wood to show you how to spruce things up:
Then I got thinking - what if I made my own paper...you know, did a bit of misting over the shapes.....so out came the star punch - this one is an 'around the page' beauty.
Using some Studio Calico packaging, which has a plasticised surface, I randomly stamped some stars, then misted through the stencil I'd made...
then, there was lots of mist left over, so I stamped that onto another piece of cardstock:
In the middle of doing this, I thought about a chevron mask I have & how these colours would look nice behind some butterflies...so I got side tracked & went & did this:
And even though I wasn't sure whether my butterfly punch would work, I thought I'd give it a shot...it was FINE....so I created this:
I know some of you will go 'Well, you could just punch the shapes & pop them on TOP of the card!' ..but I don't know, I LOVE the dimension, the peekaboo effect this gives:)
Then, I decided to try & use those stars up....so, using the star images, I grunged up this card -- along with some stars punched out from the left over chevron paper:
Isn't is AMAZING where a CAS, punched card can lead you? I hope you enjoyed this little journey through the way my brain thinks & that you can use some of the ideas here....ESPECIALLY if you are not usually a card maker;)
Happy scrapping, folks - Lizzy H ♥♥♥