Showing posts with label layout. Show all posts

Tuesday, December 25, 2018

Cherie’s Christmas Page from New Zealand

Koa Kirihimete from Aotearoa,
Morning fellow scrappers.  I hope your Christmas planing went well and you are all ready for the big day of making merry with your whanau.  Have a wonderful day today.
The page I am sharing today is my take on this month’s mood board – the paper series is: My Minds Eye – Lost and Found Christmas. The flowers were made from another sheet in the series – but you could use a plain cardstock if you prefer.  I love Christmas and it’s a special time for my family where we try to get together for a meal and to just enjoy being together.  Of late that has been harder to achieve as we are spread far and wide around the world and New Zealand. 


I started by making the photo mat. I used a piece of box –carton which I had taken the top layer of paper off to expose the card ridging.  I used an A5 piece of paper as a measure to shape the mat. Tear across the bottom so it is shaped, I tore some of the top layer to add texture.
Next paint the cardboard mat with white gesso and let dry. Then I used a brown ink pad and sponged lightly across the top of the mat – mainly around the outside edge as the middle will be covered by the photo.  Then use the red pad to rough ink the whole outside edge.  Finally use a sponge to ink the edge – which will get into the groves.


Using the photo mat for placement place two doilies – paper or as I have used an old tablecloth cut up.  Glue them down and let dry.


Make two flowers for the bottom corner of the layout.  The extra-large punch cuts out a flower 7.5cm across and the large punch cuts out a flower 5 cm across.  I like to ink all edges before I glue and fold the flowers but that is your choice.  Pinch each petal together between your thumb and forefinger – facing up.  Glue two extra-large flowers on top of each other – as shown in the middle photo.  Then do the same again with two of the large flowers. Finally glue two large on top of the extra-large flowers and put a button in the middle.


Double mat your 5 by 7 photo as shown – I used cream and black mats.  Then assemble the page from the photo mat up.  I found a title and three pieces of holly leaf chipboard in my stash – which I inked lightly and added some rhinestones for the berries. However, you could use die-cuts or scrolls or bling – whatever pleases your eye.  Finally add some journaling if you want – I use a couple of smalls tags and a note edge for the date.


Happy scrapping fellow scrappy friends
May you and your family have a safe and joyous Christmas


Arohanui
Cherie 


Tuesday, January 9, 2018

Scrapbook layout with Candy

Happy New Year everybody hope you all had a
wonderful Christmas.

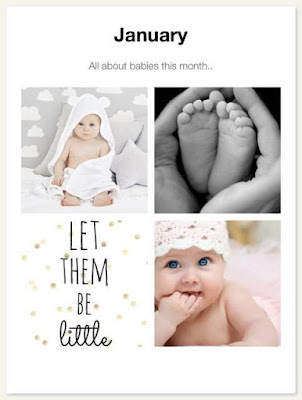
This month's inspiration moodboard is "All about babies"
and I have plenty of photos of my cutie Granddaughter Zarna

Here is the moodboard for inspiration

January Challenge

Today I have created a layout using some of my stash


leftovers from a kit I bought from Kitaholics Kits.


I used the polka dot paper for my background and tore the brush paper
into four pieces different sizes.
Tape these onto the base in layers and ruffle up the edges
I double matted the photo it measures approx
3 1/2 x 4 inches.
Tape all the emphemia around under the photo
and add the hearts into the layers of the 3 papers also add your puffy stickers and 
the word Beautiful and flowers.


I used 3 wooden butterflies and I covered them with some mousse
using aqua then the pink around the edges.
I also went around the edges with a gold and then a black gel pen.
Also using the gel pens go around the edges of the base paper 
and all the emphemia  pieces.
Cover your photo with a scrap of cardstock and 
splatter with some black ink and a fan brush.


Products used
My minds eye
- Blush, polka dot and brush papers
- emphemia
-Journal cards
- Puffy stickers
Thickers gold letter stickers
Kaisercraft Be you wooden butterflies
Nuvo embellishment mousse
- Pheony pink and Aquamarine
Black ink and a fan brush
Edge distresser
Gold and black gel pens

Thank you for visiting
Candy Chelepy
2018
Off the Rails DT


Monday, March 20, 2017

Making your own flower embellishments with Joan

Joan here today ... 

I love making my own embellishments and found that I could make some unique flowers out of pop cans.  So pick your pop can(s) of choice.  Mine just happen to be Pepsi cans.


Step One:
I made sure my cans were clean and dry.

Step Two:
I used a X-Acto knife to make a hole in the side of each can.  I used a pair of scissors to cut down the side of the cans…being VERY careful not to cut myself on the sharp edges as I went.


Step Three:
I cut the top and the bottom of the cans off ... it will look like this.  Discard the tops and bottoms of the cans.


Step Four:
I carefully smoothed out the middle of the pop cans and placed them on top of a Sizzix flower die that I have.  I then ran it through my Cuttlebug.  The Cuttlebug cut through the metal pop can like butter.


Step Five:
I then ran the die cut flowers through the Cuttlebug using an embossing folder.


*** Again use extreme caution ... the sharp metal cans will draw blood ... I know from experience.  ***

After die cutting the metal pop cans and embossing the flowers, the edges of the flowers are dulled and not as sharp.

I decided to use my flowers on a layout.


Thanks for visiting.

Joan
OTR DT


Saturday, January 23, 2016

In The Summer Time

First I would like to introduce myself, I'm Tanya and I love mixed media art and most of my pages reflect this. I love nothing more than a crisp with piece of paper and some paints or ink... oh the possibilities!! My favourite subjects to scrap are my kids James (13) and Emily (11) and my super patient hubby Ian who puts up with me disappearing into my "She Cave" as he calls it for hours on end and taking millions of photos.

For my First post I thought I would have a go at this months challenge... 


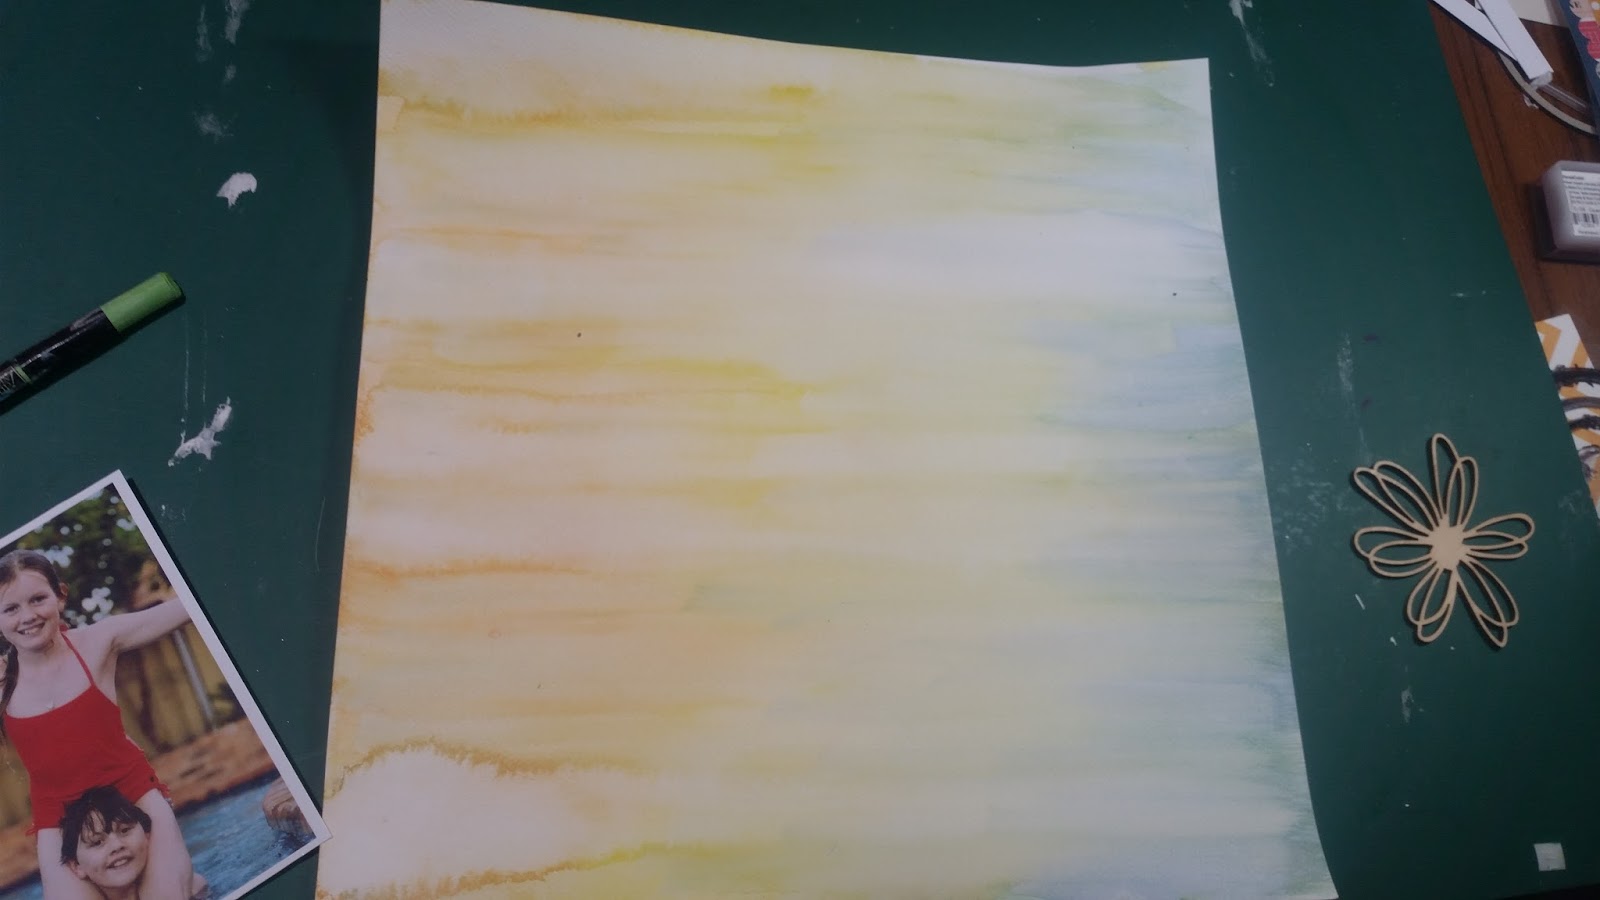
This background was done using water colour crayons. First select your colours and mix with a little bit of water to make a runny paint consistency. The spray your card stock with some water (watercolour card stock or heavy card stock is best to use)
Then paint your background in whatever pattern strikes your fancy. Watercolours tend to dry lighter you can always darken these if you wish by going back over any areas that seem to need it.


Then once it is dry ( you can speed this up using a heat tool) randomly stamp the background.  tend to use stazon ink as it gives a crisper image and is water fast if I decide to add more watercolour later

Then for more texture I added paint splats to the page, using more watercolour paints and paint pens in co-coordinating colours

Next i covered a chipboard circle in washi tape and then i arranged the page this took a few goes until i was happy. I chose some flowers and tucked then in. Once i was happy I stuck it all down


Add a title and your done!!!

Thanks for stopping by, I look forward to sharing more work with you in the future
Tanya

Wednesday, January 20, 2016

I Like Stuff On My Pages


Joan here today sharing my discovery that less can be more.


I’m a scrapbooker who likes “stuff” on my pages. And by “stuff” I’m talking about all those wonderful, fun embellishments you can purchase or make yourself. I usually start with a little of this and a little of that and end up with a lot of this and a lot of that on my pages. 

When I saw this sweet photo of my daughter Jessica and my granddaughter Faith-Anna, I knew I would be scrapping it. But when I started the process of picking out my papers and embellishments I kept thinking, keep it clean. When I look at this page it feels full yet it breathes and it’s so simple ... sometimes less is more


1) I applied modeling paste over a stencil on my white cardstock and let it dry completely.


2) I picked two colors of distress ink and used the smooching technique to add some color to the white cardstock background.


3) I then cut twelve two by two squares from patterned paper and folded up one corner.


4) I applied the twelve two inch squares to the cardstock base along with my photo, some flowers and a diecut (that also serves as the title).


Friday, January 15, 2016

January 2016 Mid Month Reveal

Welcome to the Mid Month reveal. 
Here is a sneek peak of Luciana's layout please come back on the 17th to see the full layout and tutorial


Dont forget about our sponsor this month 

Thursday, January 7, 2016

This is a Happy Life

The vintage colours and photo theme made me straight away go to my old photo's from my childhood.  

I still have quite a few to scrap as I find the sizing of them tricky sometimes or the faded quality from poor storage hard to colour match.
Any way I found a couple of lovely old black and white ones that I thought would be perfect for this mood board.

I started with a nice blue card stock and using an old shop card I applied some yellow acrylic paint by dragging it across the page from the middle out to both sides.


Then I got some red acrylic paint (dylusions in this case) and a couple of different size paper rolls and applied some circles to my background.


I then added some rub ons and tissue paper to build up the background. I coloured my chipboard title with Posca pens.

I matted my old retro photo's onto black card stock and used magic mount to raise them up a bit.

By the way I am the eldest child sharing that wading pool with my brothers and sister. 
thanks for looking

Tuesday, January 5, 2016

You Colour My World

Hello Off the Rails Fans.

Louise here of Timeless Craft Mumma
Today I'm sharing a layout inspired by the January moodboard.

"You Colour my world"


I'm going to admit, I really struggled with this board initially.
Once I moved past the vintage feel, I was able to pull out the blue, red and yellow
colours and work out that I wanted to theme my layout about "A Colourful life"!

Below you'll find a process video for completing this layout.


Hope you enjoy.

Thanks for visiting.


Sunday, January 3, 2016

December 2015 Winner


I hope that you are all enjoying the new year.

Today we announce our winner from December last year.

Congratulations.......... Lizzy Crust
A really beautiful layout for you gorgeous daughter


Please contact Candy via her email cchelepy@bigpond.net.au to claim your prize.