This month we'd like to inspire you with this "Boho" themed moodboard.
Straight up ... this was really hard for me!
I'm definitely not a fan of the boho trend and I'm more a brights/bold kind of person.
So I did a little googling of "boho" and discovered arrows, florals and feathers.
Next I looked for a photo and decided this would be a good opportunity to scrap a picture of myself.
Finally I've gotten into my stash and put together this page.
You can see it here in this video ...
Thanks for watching and can't wait to see your creations.
Here to share my inspiration page for the September moodboard.
"School Lunches Blah"
I'm not going to lie. I found this food challenge quite difficult.
Firstly I chose my photo. While looking through my printed photos, I found this one of the first ever school lunches I made back in January.
It was kind of exciting at the time, but now I look forward to tuckshop days when I don't have to make lunches ... and I've still got to do this for twelve more years!!!!!
So I decided to make that the story of my layout.
The colour inspiration came from the little cupcake embellishment - I wouldn't normally have used it but for this page, it was perfect.
You can see and hear all about my process in this video.
Welcome to Off the Rails Blog and this is my latest work for this months challenge and also I share a tuto with you all. Hope this inspires you guys to create and share with us for this month. We have a lovely wintery snowy mood board. Come along and play with us.
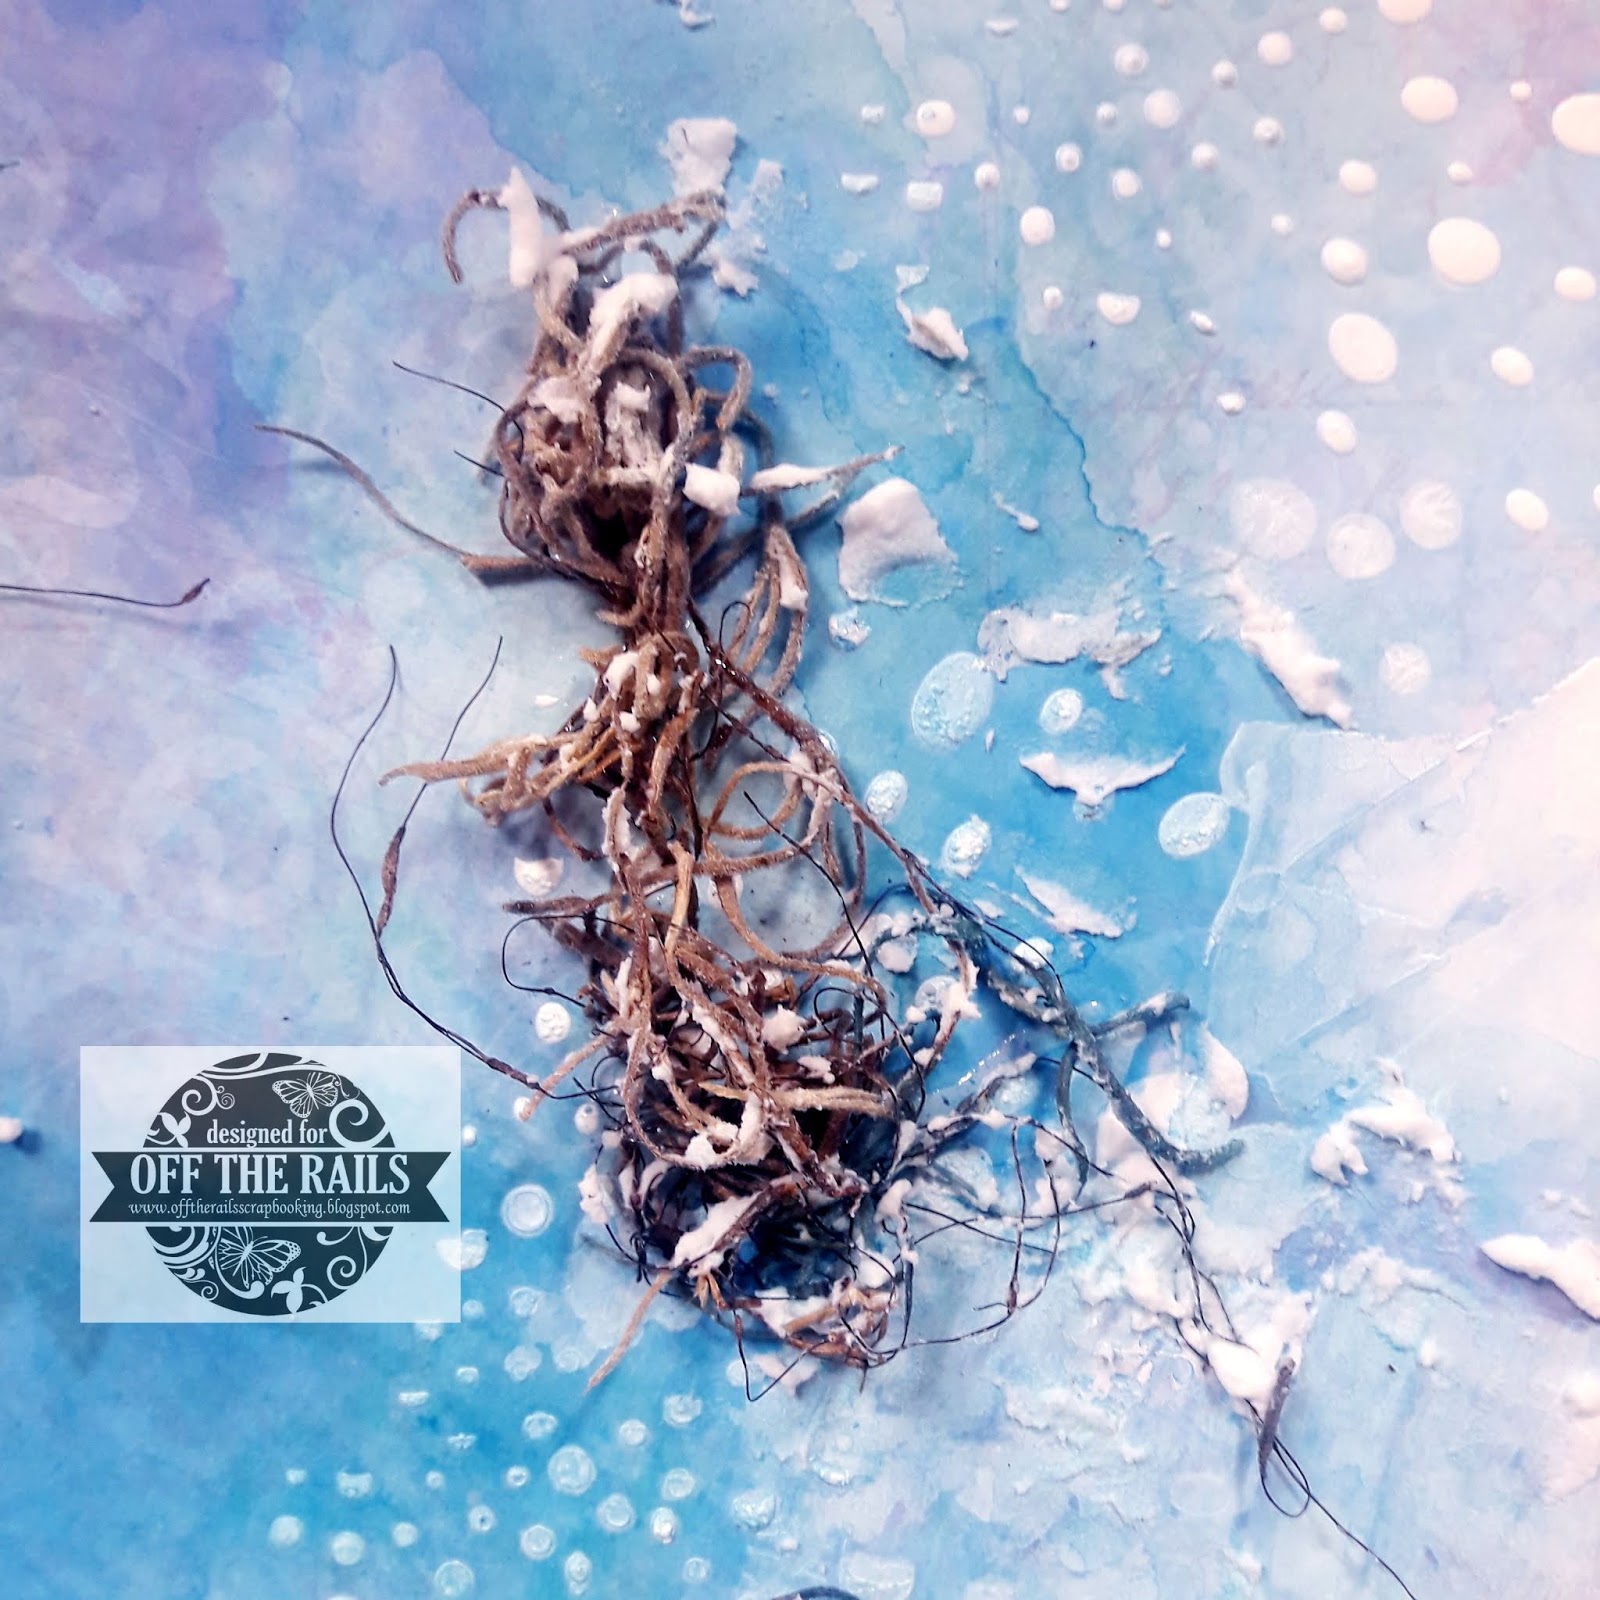
Firstly I choose a pattern paper which suits to my LO. Later added Prima Heavy gesso run through Visible Images Stencil and smudged few places randomly.
Next added few dry moss behind my focal image.
For background color ..I added LSG- Magical Blachelor Button blue and 13arts spray spreading it with my misty.
Once heat set ....now I added Wendy Vicchi's Embossing paste with spatula for snowy finish on the dry grass and heat set it.
Now layered all the flowers and embelishments and stuck them around the LO. I heat set few leaves chippies with LSG embossing powder and added little more embossing paste on to the flowers and leaves and heat set them for a snowy finish. And the final finish is here. Some close up shots....
Hope you guys enjoyed this creation of LO. Cant wait to see what you guys come up with.
I'd like to share my layout with you - inspired by this month's challenge "Bring the Coldness"
"Making Memories"
This month we'd like you to embrace the cold and let it inspire your creation.
My first inspiration was to find a photo to scrap that really reflected the weather - this one of Master C with his hoody on, in black and white was perfect.
I then created a mixed media background on resist patterned paper to create similar colours to the moodboard.
Finally I've added some very neutral embellishments to keep in theme with the moodboard.
It's good to be back again and to be able to share just a little inspiration with you this month. I chose to follow our moodboard theme of colour bombing and create a very colourful layout.
So here's just a few tips to share with you about making a colourful layout without it being overpowering:
1. Start with a white background.... it makes the colour pop all the more.
2. Choose a few colours and stick to them for all your embellishments... I chose Red, Blue, Yellow and Green with subtle touches of Orange.
3. Use different embellishments in different colours to add to the effect... here you will see stamping in distress oxide inks, brads, letter stickers and cardstock diecuts.
4. Turn to your stash and see what works... I found a marbled effect piece of card that I made over a year ago which worked perfectly for my paint/arty theme.... just cut a few strips and voila an embellishment for my page. I even found a piece of inked blue paper that I used to matt my photo.
5. Keep your journalling in a neutral colour (I typed mine) so that it doesn't distract.
Hope these tips help the next time you want to add lots of colour to a page.
Hello crafty friends and a big welcome to Off The Rails. Brenda here with you to share a page I created of my Eldest son Riley using this months challenge mood board for my inspiration.
I chose to use the beautiful bright colours from it along with the rosettes and the dots all over the lips for my inspiration. I just loved this mood board and the bright colours and as soon as I looked at it I felt happy, I needed a fun happy photo and I knew just the one. Riley house swimming sports. His house colours are yellow and all the students are encouraged to dress up and do a fashion parade as well. Yes my fun loving son is in the middle and they were the winners of the parade.
For the rosette I created it with a stencil and texture paste. Once this was dry I then went over it with different bright Distress Inks.
I worked out where I wanted my photo to sit and the frame I was gong to use so that I knew I had enough of the background showing when it was placed on the top.
I mounted the photo on orange patterned paper and the frame I painted red. On both I did circle/line in white as well to match in with what chippies I was going to use.
For my circle and butterfly chippies I used Paint Pens all different colours. Over the top of the Butterflies I used a Clear Wink Of Stella to give it a little sparkle.
Once everything was placed on my page I then used the different paint pens to put dots everywhere on the page. Some even on the chippies. The lips in the mood board with all the dots were just screaming out at me to be used.
The last thing I did was colour and place my chippie title. First I painted it yellow to go with the kids outfits and then I used a sponge to sponge on it a little of the orange paint I used.
I hope you have enjoyed popping in to see my page and how I have used this months mood board. Please make sure you join in with us this month because it is such a bright, lively mood board and I would love to see your take on it. Don't forget to keep scrolling to see some other amazing inspiration from the rest of the Design Team along with other takes on the challenge.
I am sharing a page that I put lots of texturing and depth on using embossing, stamping, many layers and added lots of 3D accents. I am also sharing my pattern and details to make the variegated butterfly. This way you can add an accent to make your paper collection for so many projects. This page is my youngest Grand Daughter when she was little.... OMG they grow up so fast.
Supply List:
Products from The Rubber Buggy
Paper: Maja Design - Nyhavn - Heritage HarbourEmbossing Folder: Deisire Embossalicious Make a WishAccents: Blue Fern Studios -Tattered Diamond Bits, Unique DoiliesOther Products:Stencil: PrimaInk: Tim Holtz Distress InkPunches: Kreaxions #309, #915Rub Ons: Scenic Route My GirlTwine: Bella Creationz Timeless TwineOther Trims: Creating with Details, Metal key, flowers, beads
Today I'd like to share some easy ways to add texture and depth to your pages.
This close up shows a punched border .. but then add a mat with great colour to pop through for layers and depth. Ink the edges for even more depth and shadowing.
This section shows a piece of paper that I embossed then inked to give both texture, depth but a great vintage look too.
This close up shows more texture and depth by adding layers.using some stencils and inking them. Also note the mat behind the rubon title with even more inking on the edges. Slip a doily way back behind with all the great design and texturing too.
Not only did we texture and ink the paper in this section we added a punched border for more design, depth and texure. Both the upper and lower slanted borders adds more dementions to the page also especially with the matting and colour.
There is nothing more elegant than a beautiful cluster of flowers and accents. All 3d looking with chipboard coloured using copic markers, a metal key tied up with timeless twine, flowers and even beaded floral. Now add a multi layers beaded border to base the photo.
Now for the fun part. Making your very own varigated butterfly accent using matching paper from the layout. It is so easy to co-ordinate to your projects of all kinds... and butterflies are perfect accent for so many themes and creative projects.
Here is the printable sheet of instructions to be printed on 8.5x 11" paper.
After watching the short easy You tube tutorial .. you will be able to make the varigated butterfly to add to any of your projects using products your already have in your stash that co-ordinate with your project.
Here is the close up of the accented section with the butterfly and I also added a twine flight trail. What a great clustered section to add to any project.
I really enjoyed this today and hope to see you again soon.