Showing posts with label Stamping. Show all posts

Wednesday, July 4, 2018

"Making Memories" Scrapbook layout + process video by Louise

Hi Crafters


I'd like to share my layout with you - inspired by this month's challenge "Bring the Coldness"

"Making Memories"


This month we'd like you to embrace the cold and let it inspire your creation.


My first inspiration was to find a photo to scrap that really reflected the weather - this one of Master C with his hoody on, in black and white was perfect.


I then created a mixed media background on resist patterned paper to create similar colours to the moodboard.

Finally I've added some very neutral embellishments to keep in theme with the moodboard.

You can see the whole process in the video below.


Thanks for stopping by - happy Scrapping.

Louise xo


Saturday, May 5, 2018

"Moments Captured" sprapbook layout + process video by Louise


Hi Crafters

Louise on the blog today.
Our May moodboard  was quite challenging for me.


So when I can't find inspiration immediately, I like to break it down.
Looking at the moodboard, the first things I thought were colour - orange and yellow or theme fire.
I knew that somewhere in my stash I had these photos of my boys with a fire truck.
So I decided to go with photo inspiration and make a light, bright layout.

"Moments Captured"


I started with white cardstock and added some stamping.
Then I used Colour Blast Shimmer dust to make messy colour on the stamped images.


I raided my stash for some paper layers and focused on colours featured in the photos.


Here is the process video if you'd like to see me create this layout.


I love the final result and I hope I've inspired you to have a go at our moodboard.

Happy Crafting.

Louise xo


Wednesday, April 11, 2018

Colour Bomb art journal page with Deb

Hello Off the Rails Friends,

Deb here with an art journal page based on our challenge for this month - Colour Bomb.

I started by brushing a coat of clear gesso onto my journal page.  I love the Liquitex brand as it is grainy and adds texture to the page to start with.  Whilst waiting for this to dry I gathered together my supplies.

I took the 2 smallest stitched circle stamps from the Colour Blast stamp set and using the black stamp pad, stamped the larger of the 2, 3 times down the middle of the page.  I then took the smaller stamp and stamped that top and bottom and also inside the larger circles.  I then took the row of circles from the MME stamp set and stamped that between the larger circles.


I took the Kaiser paint in Royal Blue and Lime and dry brushed the circles, alternating the colours.
I them watered down the paint and splattered both colours all over the page.
When dry, I took the Kaiser Bubblewrap stamp and using a number of colours of Distress Inks, I stamped on both sides of the painted circles.

 I then used Dylusions Rose Quartz Ink Spray and lots of water to create the drip lines from the top of the page down.  I do apologise but my camera stopped working at this stage so I have no closeups of this.  When dry I added some Jane Davenport Washi Tape to the top of the page. 

At this stage I was really happy with how my page was coming together and loved the colour bomb I had created but thought it needed more!

Using a small Kaiser stencil, I applied Viva Inka Gold in Hydrangea, andCosmic Shimmer Paste in Polar White and Ocean Spray in various places on the page.
I finished the journal page with a sticker from 13 @rts - Marta Lapkowska Small Messages.

I look forward to seeing what you come up with for our Colour Bomb challenge.


Thanks for stopping by
Deb xx


Wednesday, February 7, 2018

Colour and Texture - Art Journal page with Deb

Hello Off the Rails fans, 
Deb here with another art journal page and I am using the fabulous February moodboard - 
Colour and Texture.  Dont you just love the bright colours?

First off I gathered my supplies, paying particular attention to the colour and texture prompts.  
Prima, Kaisercraft, Art C, Dylusions and Heidi Swapp provided the colour. 
The texture was provided by the chipboard by Dusty Attic and the Butter Muslin picked up from Sprotlight.  I also used a Kaisercraft Script stamp.

I covered my journal page with a light cover of gesso and then stuck the muslin on top of that using Matte Gel Medium.  Whilst still wet I cut apart the chipboard and laid that onto the muslin.  


When that was dry I applied a thin coat of white gesso.  


Then the fun started.  Starting at the top of the page I went to work with the water colours using plenty of water and plenty of colour.  I made sure that colour also got on the gessoed chipboard.  The colouring of the page took ages to do as I wanted really bright colours so had to add a lot of watercolour - drying between the layers.  In the end I feel it was totally worth it.  


Tip - keep a piece of paper towel close by to mop up the excess water when the page gets too wet.


Once the colour was to my liking and all dry, I took the script stamp and black ink and randomly stamped on the background, including the chipboard.  I then added some clear crackle paste through a Dusty Attic fishnet stencil (you cant see this :( ) before taking the Kaisercraft and Art C paints and adding blobs of colour randomly.  To finish the colour component I splattered the White Linen Dylusions, Gold Heidi Shine and a black paint pen.  I added some colourful sequins as well.


The page was finished with my title "Colour your life outside the lines".


Thanks for stopping by today, hope you enjoyed my journal page and I am looking forward to seeing your creations.


Sunday, November 19, 2017

Mixed Media Scrapbook Layout with Dawid

Hello everyone,

Winter is coming in my part of the world and the days are shorter and darker.
I decided to look back through my memories to find a holiday and blue sky.

I prepared a blue mixmedia page. I used a water inks in two shades of blue, white gesso, chipboards and few pieces of papers.


You can see how I made this page :)


Hugs,

Dawid


Thursday, September 21, 2017

Steampunk tag tutorial + process video with Emma

Hi 
Welcome to the middle of September 😉 
Today I'm sharing a quick little video of this tag I have made. 


Still inspired by the steampunk theme I had fun making a tag for something a little different. 


I'd love you to check out my video here: 


This months moodboard to inspire you:


To create a background, I've added texture paste through a stencil, Distress Oxide Ink and stamping.


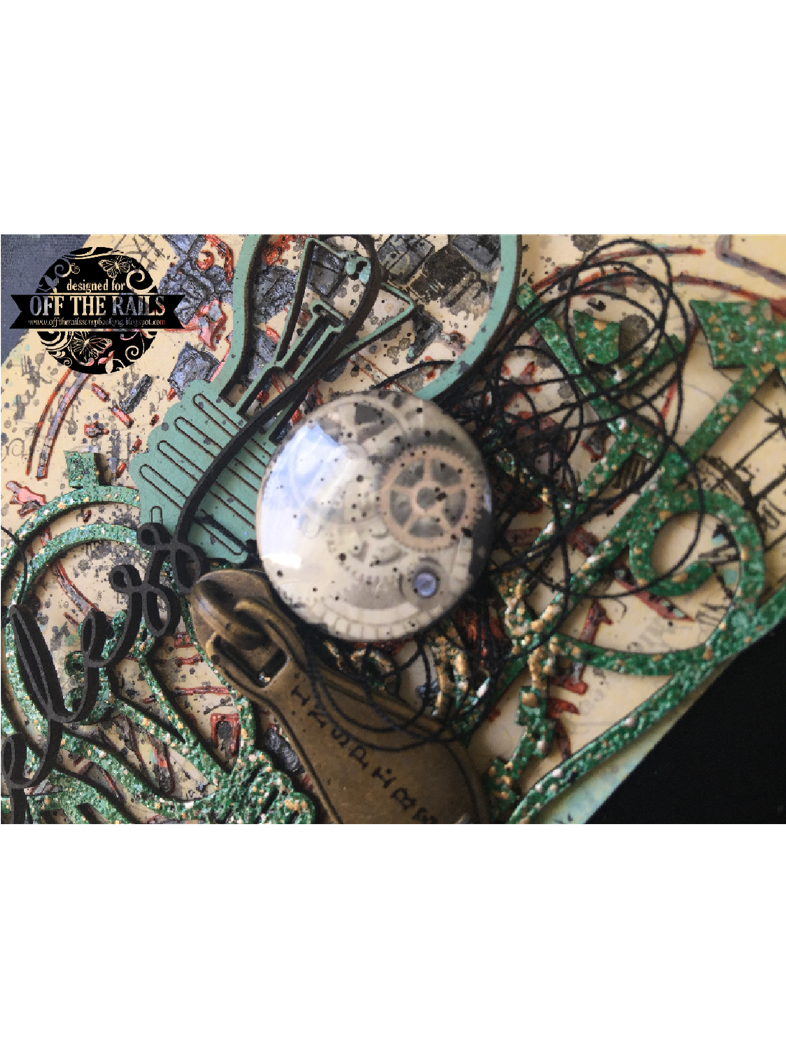
Then building layers, I've added lots of textural elements - heat embossed chipboard, metal trinkets and flair buttons.


Lastly a quote that fit's in nicely with the steampunk theme.


Can't wait to see your creations. 
Till next time, Em xx


Wednesday, July 5, 2017

Scrapbook layout "Oh You" + process video by Louise

Hi Crafters

Louise with you today.
Here is my tutorial inspired by our July moodboard.

"Oh You"


This months mood board was a real challenge for me.
I decided to create a yellow, black and white coloured page.


If I get stuck I normally start with white cardstock, in this case, 
I decided to make my own background paper.
I collected some star stamps from my stash and some 12x12 white cardstock.


I stamped with permanent ink and then used Colour Blast colour dust "Sunflower" + water to create the bright background.


I've added neutral papers to the background and built a cluster around my photo.
I chose some chipboard pieces and gave the circle frame a coat of Colour Blast "Steel" embossing powder and the triangles got a coat of Colour Blast "Sunshine".

Here is the process video for this page, if you'd like to see me create it.