Showing posts with label tutorial. Show all posts

Friday, October 19, 2018

Friendship and a Butterfly Tutorial

Hey there Off The Rail Fans!
Lisa here today to share a layout and a fun layered butterfly tutorial with you.
I used Shimelle Little By Little collection for this layout:


I fussy cut the flowers from one of the papers. See that cute butterfly? See my tutorial on how to make these later in my post:


I fussy cut a few more flowers, the title "Friendship" and those cute animals from papers in the collection:


Here is another one of the butterflies I created:


Did you notice the words above the photo? I used this tag from a scrub top  and placed half of it under my photo. I covered the words " Tooniforms and Cherokee" with fussy cut flowers. This is a great way to recycle!


Now for my tutorial on how to make the layered butterflies:
I used 2 different butterfly punches and punched butterflies from 4 different papers in the the collection. 


Layer 4 butterflies, all different patterns on top of each other. I stitched through the body part of the butterfly using my sewing machine and white thread, leaving the tails of thread:


Fluff up the wings. Easy peasy! 
These make fun homemade embellies and they are really fast to make!


Thanks for stopping by and have a great day!

Lisa

Tuesday, September 25, 2018

Art Journal page - Step by step with Judy


Hi Everyone, I am so pleased to be able to share my first Off the Rails design team project "all about food" with you this morning. I seldom take photos of food and have just started to dabble into art journalling so I thought -why not an art journal page about food? My inspiration came from the quote "Laughter is Food for the Soul".


Here's what I did. Using some natural foodstuffs I produced dyes & paint. The hessian was dyed with beetroot and I mixed turmeric and paprika to produce dye. I have also dyed some gauze with tea and mixed coffee with texture paste.


My 'art journal' is an up cycled children's book, so I created the background first by painting the page with gesso and covering it with torn pieces of old recipe book paper. I then applied the turmeric wash while the gesso was still wet.


Then some paprika wash to cover the remainder of the background.  Unfortunately as the gesso dried the colours did fade quite a bit but the subtle yellow and orange was quite easy to work with .


When the gesso had dried I misted with a coffee mist through a stencil and added a fussy cut picture of a woman laughing over some more recipe paper and some tissue printed with kitchen dishes. 


Then some tea stained gauze, stamping and the quote. I finished off with some hessian and more stamping and a few "splotches" of coffee texture paste through a stencil.


I hope this has given you a few ideas - there's still time to join in this months challenge.

Have a happy day. Judy

Wednesday, September 19, 2018

Sweet birthday card with process video by Dawid

Hi everyone,

for todays inspiration I prepare simple birthday card. Not always we need many things to make something nice. This time I used only paper, stickers, glue and liquid pearls. I hope you like it. 


I prepare video too.


Hugs,

Dawid


Thursday, July 19, 2018

A blue love card by Dawid


Hi everyone,

I prepared for todays inspiration a love card. I chosen colors from our challenge color pallete - blue, white and a little bit gray. On the card I've made flowers composition which I decorated  with glitter paint. It gave main composition a little bit frosty look.


I prepared for you a step by step video. I hope you enjoy.


Hugs,

Dawid


Saturday, July 7, 2018

Mixed media scrapbook layout "Snowy" tutorial by Hema


Hello Ladies.......

Welcome to Off the Rails Blog and this is my latest work for this months challenge and also I share a tuto with you all.  Hope this inspires you guys to create and share with us for this month. We have a lovely wintery snowy mood board. Come along and play with us.


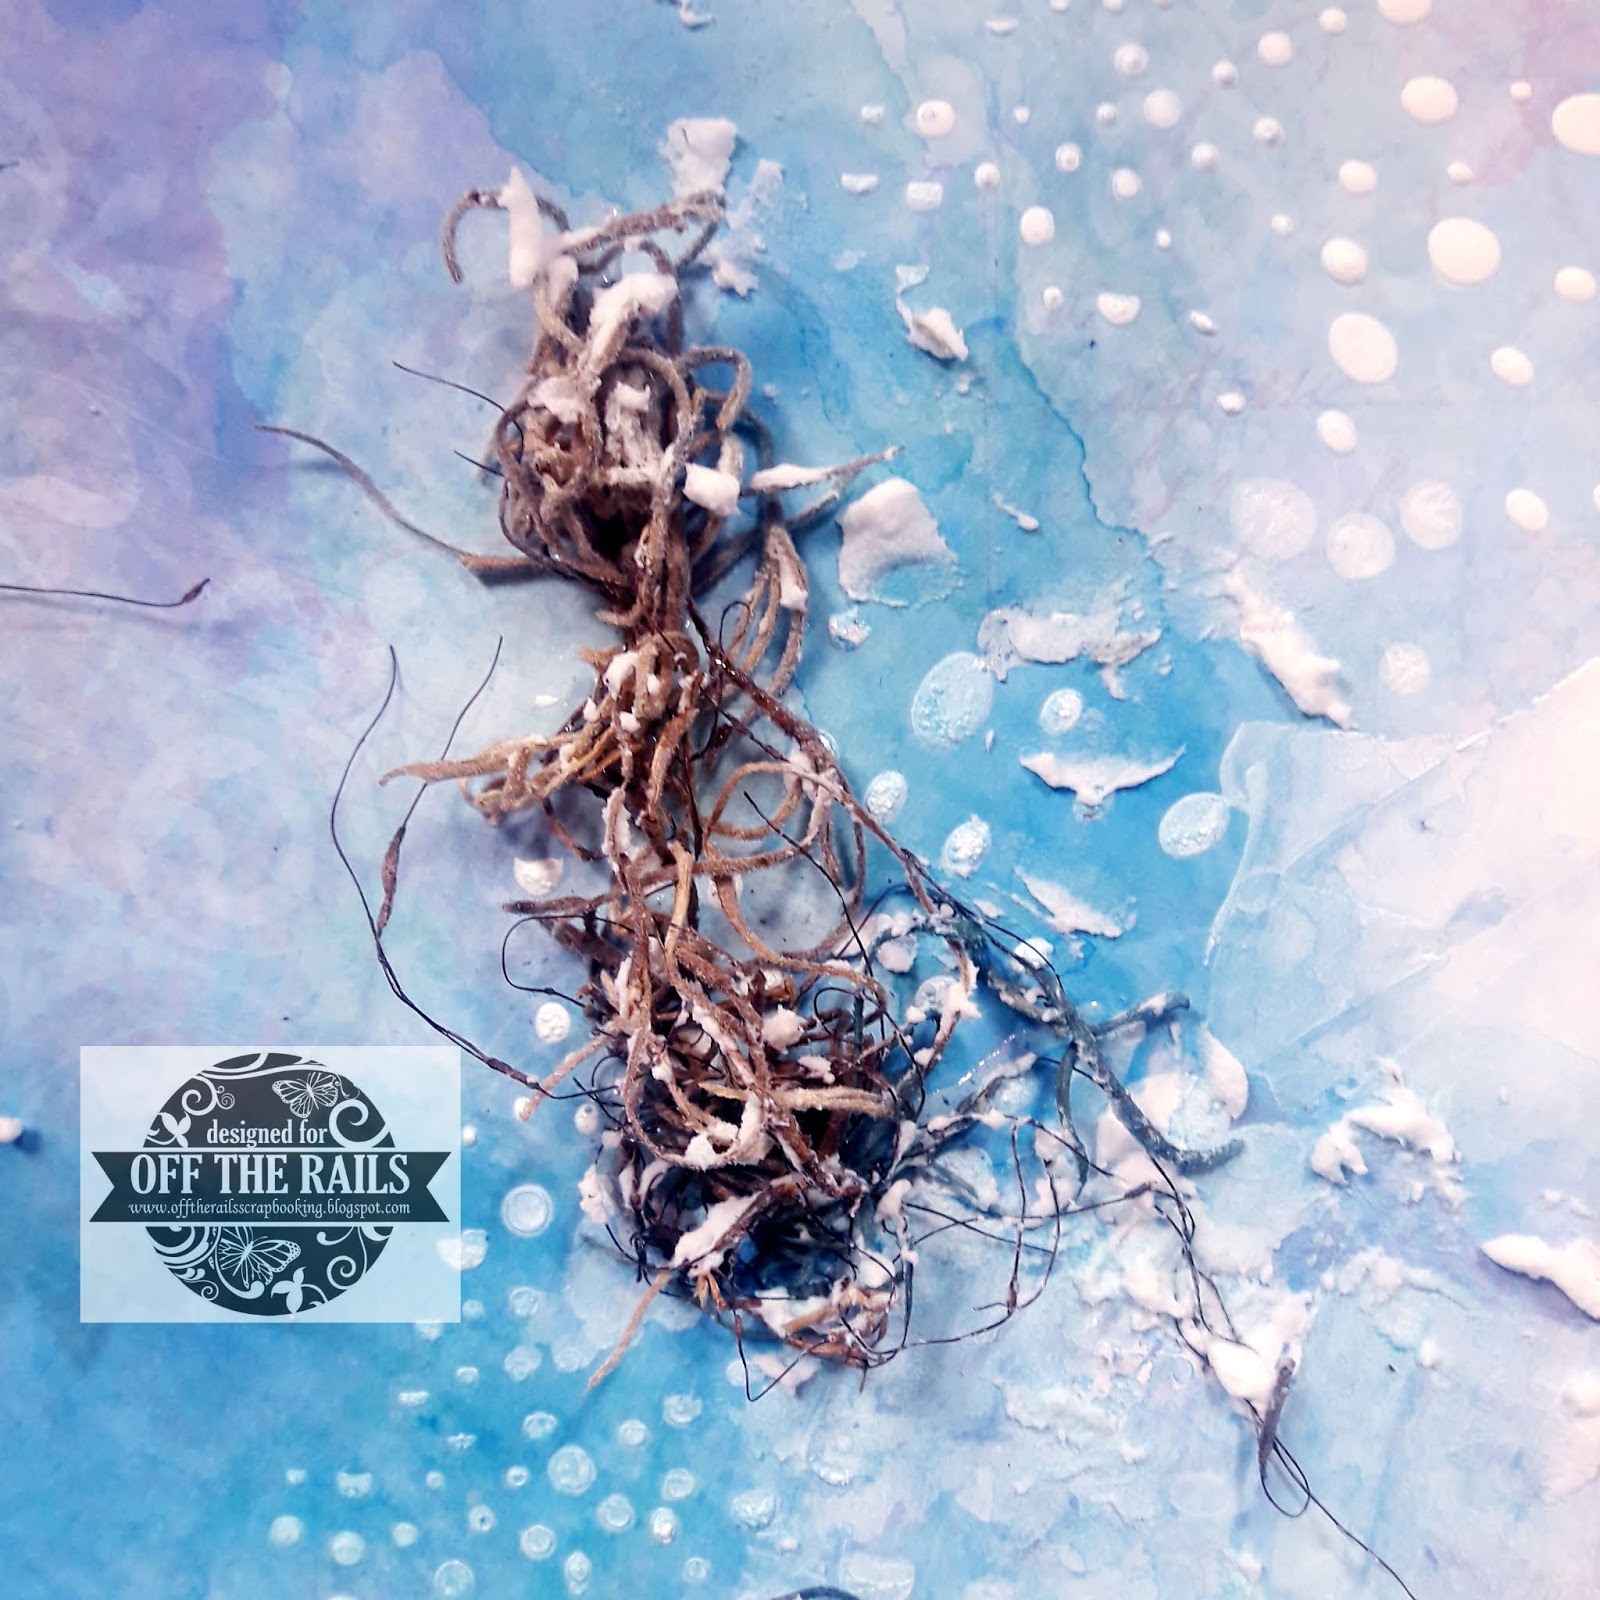
Firstly I choose a pattern paper which suits to my LO. Later added Prima Heavy gesso run through Visible Images Stencil and smudged few places randomly.


Next added few dry moss behind my focal image.


For background color ..I added LSG- Magical Blachelor Button blue and 13arts spray spreading it with my misty.


Once heat set ....now I added Wendy Vicchi's Embossing paste with spatula for snowy finish on the dry grass and heat set it.


Now layered all the flowers and embelishments and stuck them around the LO. I heat set few leaves chippies with LSG embossing powder and added little more embossing paste on to the flowers and  leaves and heat set them for a snowy finish. And the final finish is here. Some close up shots....


Hope you guys enjoyed this creation of LO. Cant wait to see what you guys come up with.

Happy Crafting

Hema


Wednesday, July 4, 2018

"Making Memories" Scrapbook layout + process video by Louise

Hi Crafters


I'd like to share my layout with you - inspired by this month's challenge "Bring the Coldness"

"Making Memories"


This month we'd like you to embrace the cold and let it inspire your creation.


My first inspiration was to find a photo to scrap that really reflected the weather - this one of Master C with his hoody on, in black and white was perfect.


I then created a mixed media background on resist patterned paper to create similar colours to the moodboard.

Finally I've added some very neutral embellishments to keep in theme with the moodboard.

You can see the whole process in the video below.


Thanks for stopping by - happy Scrapping.

Louise xo


Wednesday, June 27, 2018

How to add extra photos to your layout - by Cathy S

Hi All,

It's good to be sharing again and showing you how to stretch your layouts with a fun little mini-album idea.

I was super inspired by our moodboard this month and chose to scrap some beach photos from a few years back. True to form, there are always more photos that can comfortably fit on a double page spread, so what are you to do? Well this is where the mini-album idea comes in.


You will see the flip flops on my left hand page... well actually the polka-dot one is a little accordian album. I don't like having bulky stuff on my layouts, so I like to make my mini-albums as flat as possible, yet not skimp on the space for photos.

Here you can see the album open:

The album is simply made with the width of a 12x12 cardstock by the height of my photos (plus a little space for matting) and then scored to fold accordian-style. The bottom flap is glued directly to my layout. I didn't embellish anything (though you could add rub-ons or stickers) and so it all folds nice and flat. I printed my photos small so that I could use more and still capture the moment.

On this layout, if I left off the mini-album, the flip-flops would just create an extension of the theme, so by turning one into an album, it just stretches the layout ever so slightly.

Why not give it a try and share with us what you make.

Till next time.
Cathy S