Showing posts with label Bev Code. Show all posts

Monday, June 4, 2018

Heartfelt Creations products plus flower shaping with Bev


I Bev here today. I have been experimenting with Heartfelt Creations products.... which includes flower shaping. These cards I am sharing were part of a class I took by Karan Gerber at our new local Scrapbook Shop. Everything was supplied but we had to assemble and shape our own flowers to make them our own. Today I would like to share what I have found out works best for me.

Things you will need. Flower stamp and die cut set. Or die cut set only will work.
You can stamp and colour your own flower or stamp and die cut on coloured cardstock or die cut without stamping on cardstock. .... your choice as to what you own and will be working with. Lots of options if you don't happen to own everything needed.

Distress inks if colouring your flowers but has to be at least 100lb neenah paper because you will be misting lightly with water.
OR heavy cardstock that can take the light misting.

Glue and glitter, a foam piece and a stylus, pop dots and pop up foam.
************************

For those that have the Heartfelt Creations products you need the Deluxe Flower Shaping Kit.... but like I keep sharing... not necessary if you improvise.

I will share the basics and you apply them to what you have on hand... OK. Are you set.

*************************


I am now going to share some of my very own card creations with step out. 
So first I stamped and die cut the flowers in different sizes.


I then inked using a finger dauber. (your total option to do what ever combo and colours you like OR  (use coloured cardstock and do no colouring)


Lighting mist the backsdie before shaping... softens the paper for shaping and molding.


You can firmly press into foam.... roll round in small circles... move from outer edges of each petal to centre.


Now flip over and firmly mold centre of layers into deep central valley.


I like to take a few stamens and roll them together .. twist and add a touch of glue to hold this shape.


Put your layers together alternating the petals. Put a hole through centre of the whole flower. Feed the stamen through and adhere with glue to the backside. 
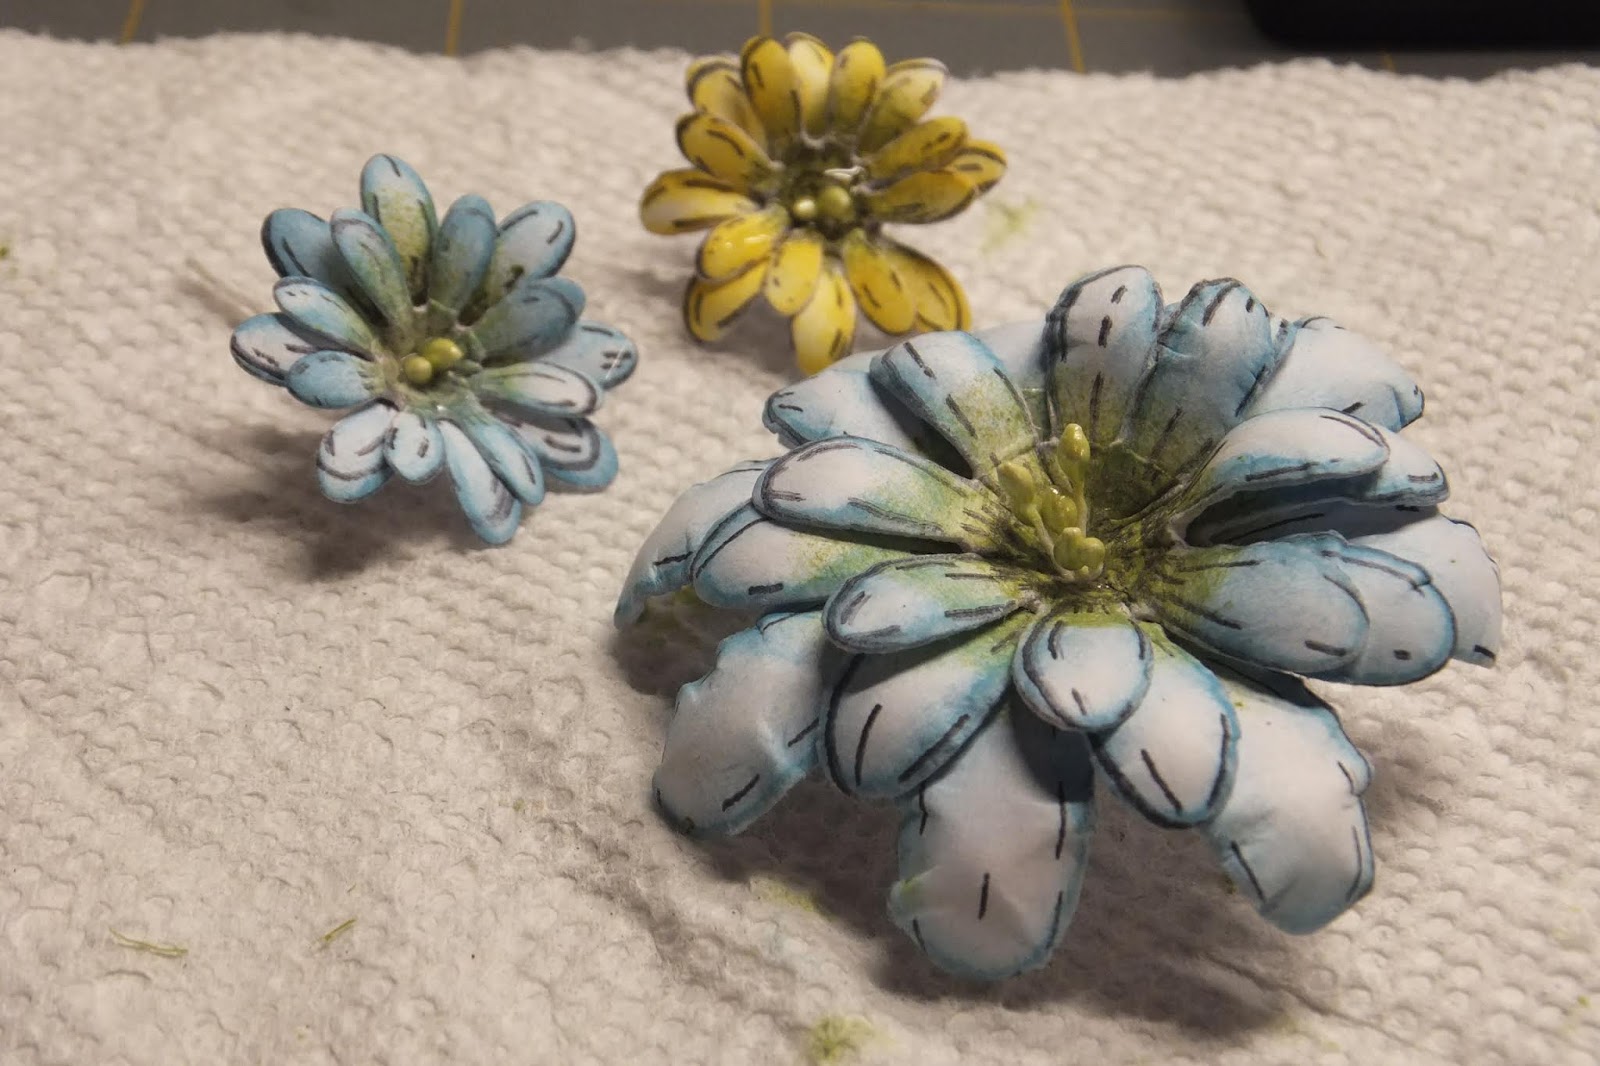

Flowers can be single, double or even multi layered ... your option and mix them up.


Here is this finished card with cluster of flowers.


More cards with more molded paper flowers. Above flowers are inked.
The flowers below are stamped onto colour cardstock. So many options.


Flowers can be used on layouts, cards, tags and so many other creative projects too... so have fun making them. Making them in your own personal colours to match each project is perfect.
Thanks for stopping by and hope to see you again soon.


Wednesday, April 4, 2018

Adding texture to your page with Bev


Hi .. Bev here today. 
I am sharing a page that I put lots of texturing and depth on using embossing, stamping, many layers and added lots of 3D accents. I am also sharing my pattern and details to make the variegated butterfly. This way you can add an accent to make your paper collection for so many projects. This page is my youngest Grand Daughter when she was little.... OMG they grow up so fast.

Supply List:
Products from The Rubber Buggy

Paper: Maja Design - Nyhavn - Heritage HarbourEmbossing Folder: Deisire Embossalicious Make a WishAccents: Blue Fern Studios -Tattered Diamond Bits, Unique DoiliesOther Products:Stencil: PrimaInk: Tim Holtz Distress InkPunches: Kreaxions #309, #915Rub Ons: Scenic Route My GirlTwine: Bella Creationz Timeless TwineOther Trims: Creating with Details, Metal key, flowers, beads


Today I'd like to share some easy ways to add texture and depth to your pages.


This close up shows a punched border .. but then add a mat with great colour to pop through for layers and depth. Ink the edges for even more depth and shadowing.


This section shows a piece of paper that I embossed then inked to give both texture, depth but a great vintage look too.


 This close up shows more texture and depth by adding layers.using some stencils and inking them. Also note the mat behind the rubon title with even more inking on the edges. Slip a doily way back  behind with all the great design and texturing too.


Not only did we texture and ink the paper in this section we added a punched border for more design, depth and texure. Both the upper and lower slanted borders adds more dementions to the page also especially with the matting and colour.


There is nothing more elegant than a beautiful cluster of flowers and accents.  All 3d looking with chipboard coloured using copic markers, a metal key tied up with timeless twine, flowers and even beaded floral. Now add a multi layers beaded border to base the photo.


Now for the fun part. Making your very own varigated butterfly accent using matching paper from the layout. It  is so easy to co-ordinate to your projects of all kinds... and butterflies are perfect accent for so many themes and creative projects.


Here is the printable sheet of instructions to be printed on 8.5x 11" paper.


After watching the short easy You tube tutorial .. you will be able to make the varigated butterfly to add to any of your projects using products your already have in your stash that co-ordinate with your project.


Here is the close up of the accented section with the butterfly and I also added a twine flight trail. What a great clustered section to add to any project.
I really enjoyed this today and hope to see you again soon.

Thank you for visiting

Sunday, February 4, 2018

Getting the most out of your dies with Bev


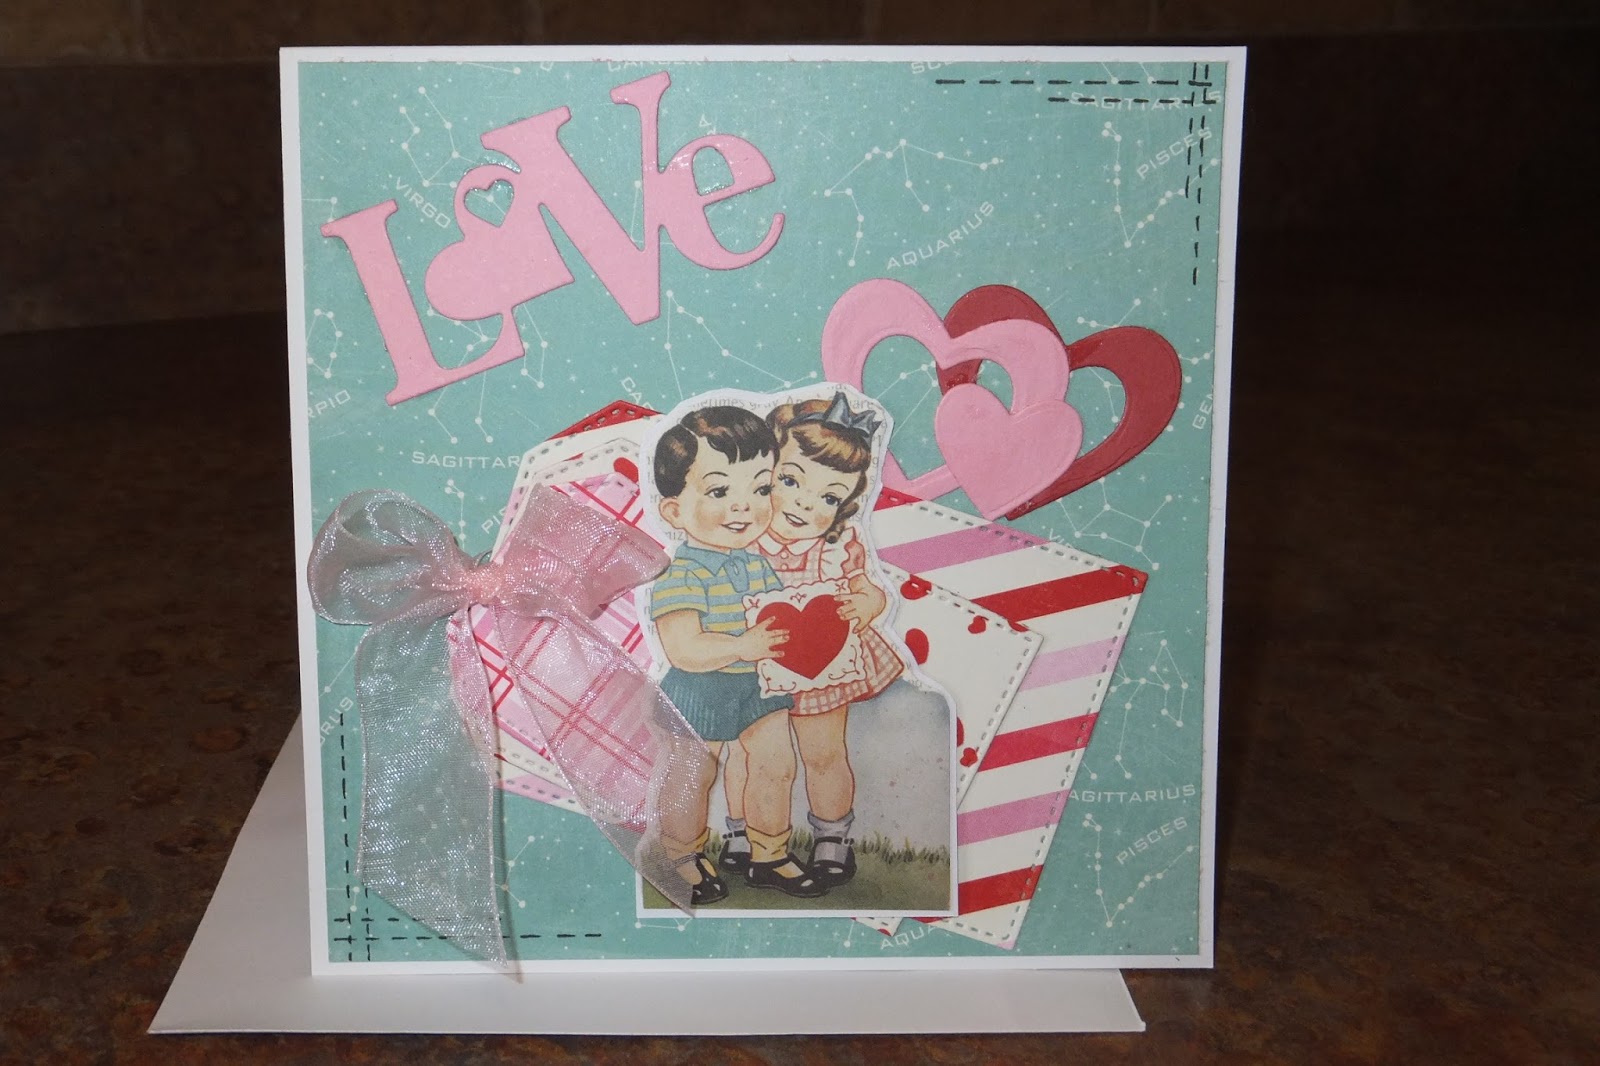
Hi everyone... it's Bev here today at Off the Rails Scrapbooking sharing my tutorial on making the most use out of your dies. I have been purchasing more dies lately and have been trying to collection some that are theme specific but also good for more uses. Example using the card above the "LOVE" sentiment with the valentine images is Valentine card Specific for this one... but would also work on an Anniversary card or a loving Happy Birthday card or even a Wedding Card. Hearts would also work on all those themes too. And the nested tag dies we often for get to use them for more than just tags. They make great background based for cards and also photos on layouts ... we just need to remember to use them.


Here are some close ups of my finished card for your viewing.


Fabulous fun cluster of layered tags using fun print papers. 


Actually this group of hearts were done leaving the dies joined together which gives you some solid and some centre hollow cuts. I quit like it and will not be pulling the pieces apart.

Thanks for joining me today... hope to see you again soon.


Monday, December 4, 2017

Origami xmas tree card with instructions and video


Hi Bev here today... I am sharing my xmas card with the origami xmas tree... including the instructions to print and a video on how to. This will make it easier for you to make your own also.


After making my origami tree I gathered lots of fun elements and accents to complete my card.


In the close ups you can see I added gem stones to the tree to make it sparkle.


I matted and popped up this piece and centred it on a ribbon border.


Pennants were custom cut, glued and I even stitched them

You can print the instruction sheets on 8.5 x 11" paper and create you very own origami xmas tree.


And for those that like to follow via videos... here is the one I did for origami xmas trees.


Thanks for stopping .... hope to see you again soon.

Monday, October 2, 2017

Off the Rails fun with Washi Tape


Hi Bev here today.... at the Off the Rails Blog. I am sharing some sample washi tape projects. (this first one is inspired by my friend Joan- thanks). It's decorating wall switch plates with washi tape.
I am using Paper House Washi Tape with a Christmas theme. 


Start on one side at the edge and work your way side ways folding over the sides. In the corners cut into the V and that makes folding around easier.


I am using the same pattern on the whole plate.

Then I added the word strip Merry Christmas as a top and bottom border accent.
In the middle over the switch I changed it up to santa and reindeer and more word borders.
This will be cute in your house entry hall to welcome your guests over the holidays.


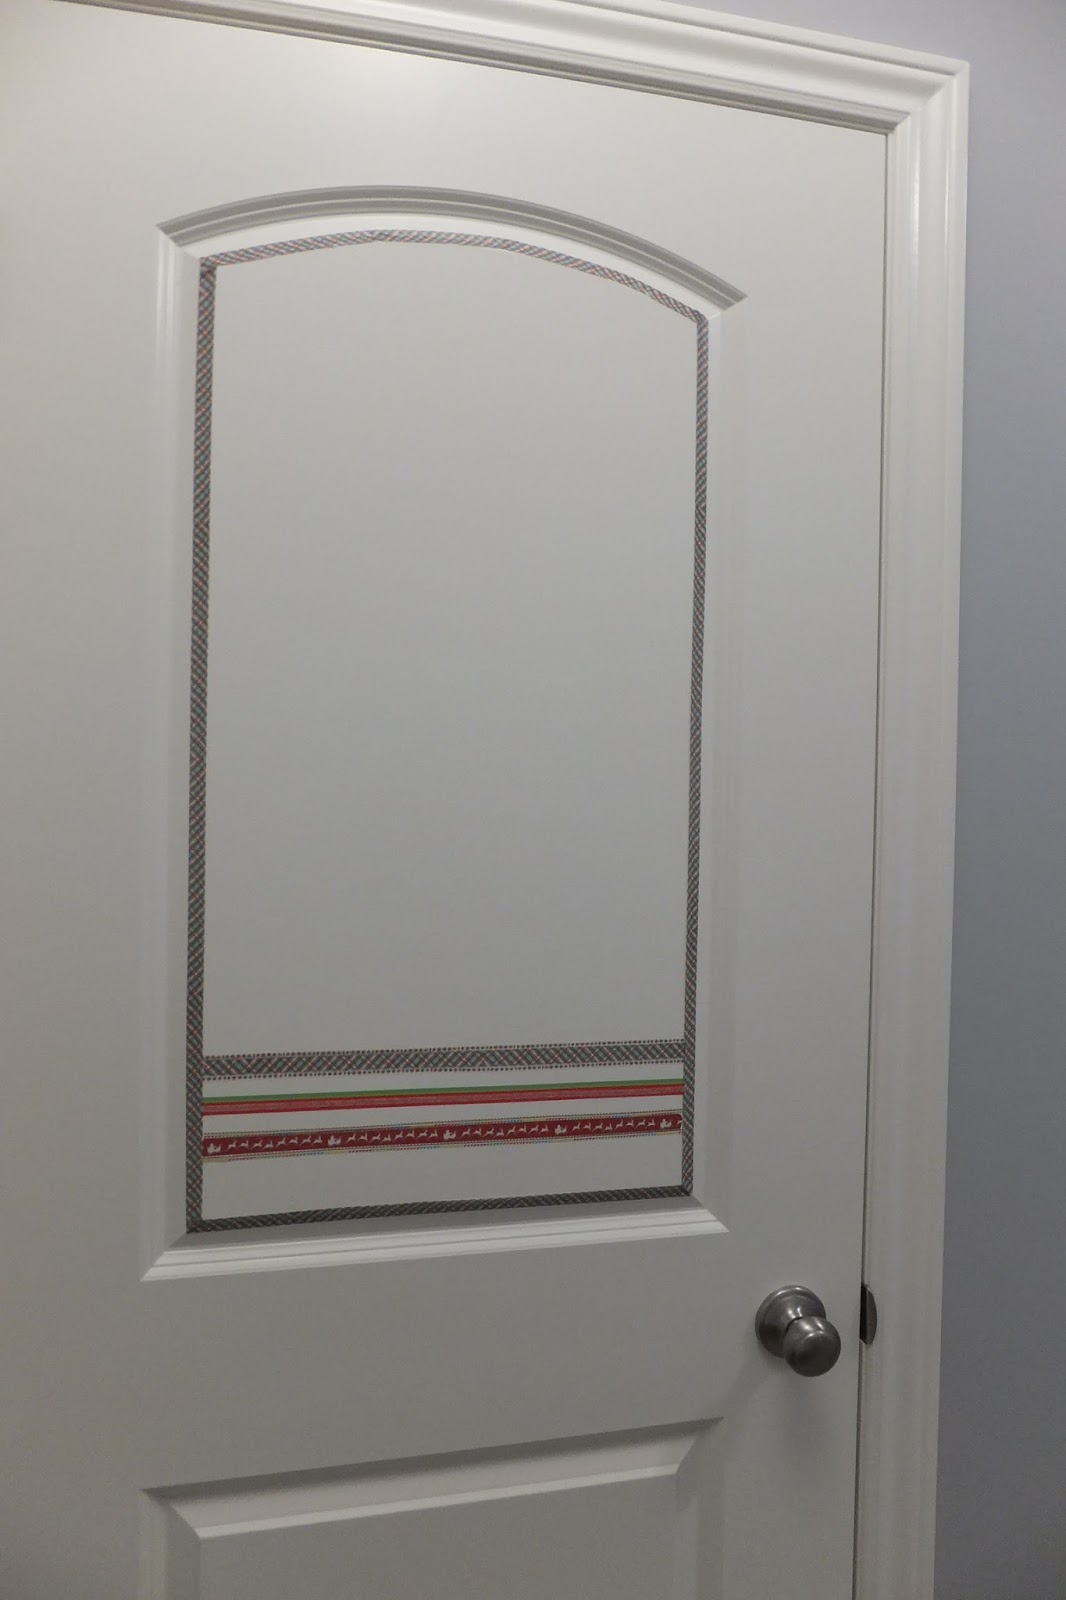
Next up is my front hall entry closet and it had some great groves to run the washi tape around.


Then I ran the strips across changing up the designs. It looks really fun, bright and say "Merry Christmas" when entering the home.


This one I just played for fun. It would look awesome on the kids room light switch and could be changed up often to make it a fun decor piece for kids.

Would love for you to tell me in the comments ... some of your personal ideas for washi tape. Thanks for visiting and see you again soon.

Saturday, August 5, 2017

Using Copic Markers on Chipboard


Hi ....  it's Bev here today.  I am sharing a great page with lots of chipboards. I love using copic markers on them because it gives you so many colour options to match the papers and accents your using.


For this section I only used one solid colour to copic colour the piece... so easy.


For this piece however I used a few shades of green to give the branch and leaves some depth and texture. Light and darker green, some spots of brown and it starts to look fabulous. 


Then using a signo white gel pen I added some doodles lines to form the viens in the leaves. Do a little or add a lot your choice.... but have fun using copics on chipboards.


It makes a fabulous piece to add to this page with the flowers... and the colouring is perfect. ...looks great with the print coloured papers.

Thanks for stopping by today ... and see you again soon.