

I Bev here today. I have been experimenting with Heartfelt Creations products.... which includes flower shaping. These cards I am sharing were part of a class I took by Karan Gerber at our new local Scrapbook Shop. Everything was supplied but we had to assemble and shape our own flowers to make them our own. Today I would like to share what I have found out works best for me.
Things you will need. Flower stamp and die cut set. Or die cut set only will work.
You can stamp and colour your own flower or stamp and die cut on coloured cardstock or die cut without stamping on cardstock. .... your choice as to what you own and will be working with. Lots of options if you don't happen to own everything needed.
Distress inks if colouring your flowers but has to be at least 100lb neenah paper because you will be misting lightly with water.
OR heavy cardstock that can take the light misting.
Glue and glitter, a foam piece and a stylus, pop dots and pop up foam.
************************
For those that have the Heartfelt Creations products you need the Deluxe Flower Shaping Kit.... but like I keep sharing... not necessary if you improvise.
I will share the basics and you apply them to what you have on hand... OK. Are you set.
*************************

I am now going to share some of my very own card creations with step out.
So first I stamped and die cut the flowers in different sizes.

I then inked using a finger dauber. (your total option to do what ever combo and colours you like OR (use coloured cardstock and do no colouring)

Lighting mist the backsdie before shaping... softens the paper for shaping and molding.

You can firmly press into foam.... roll round in small circles... move from outer edges of each petal to centre.


Now flip over and firmly mold centre of layers into deep central valley.

I like to take a few stamens and roll them together .. twist and add a touch of glue to hold this shape.

Put your layers together alternating the petals. Put a hole through centre of the whole flower. Feed the stamen through and adhere with glue to the backside.
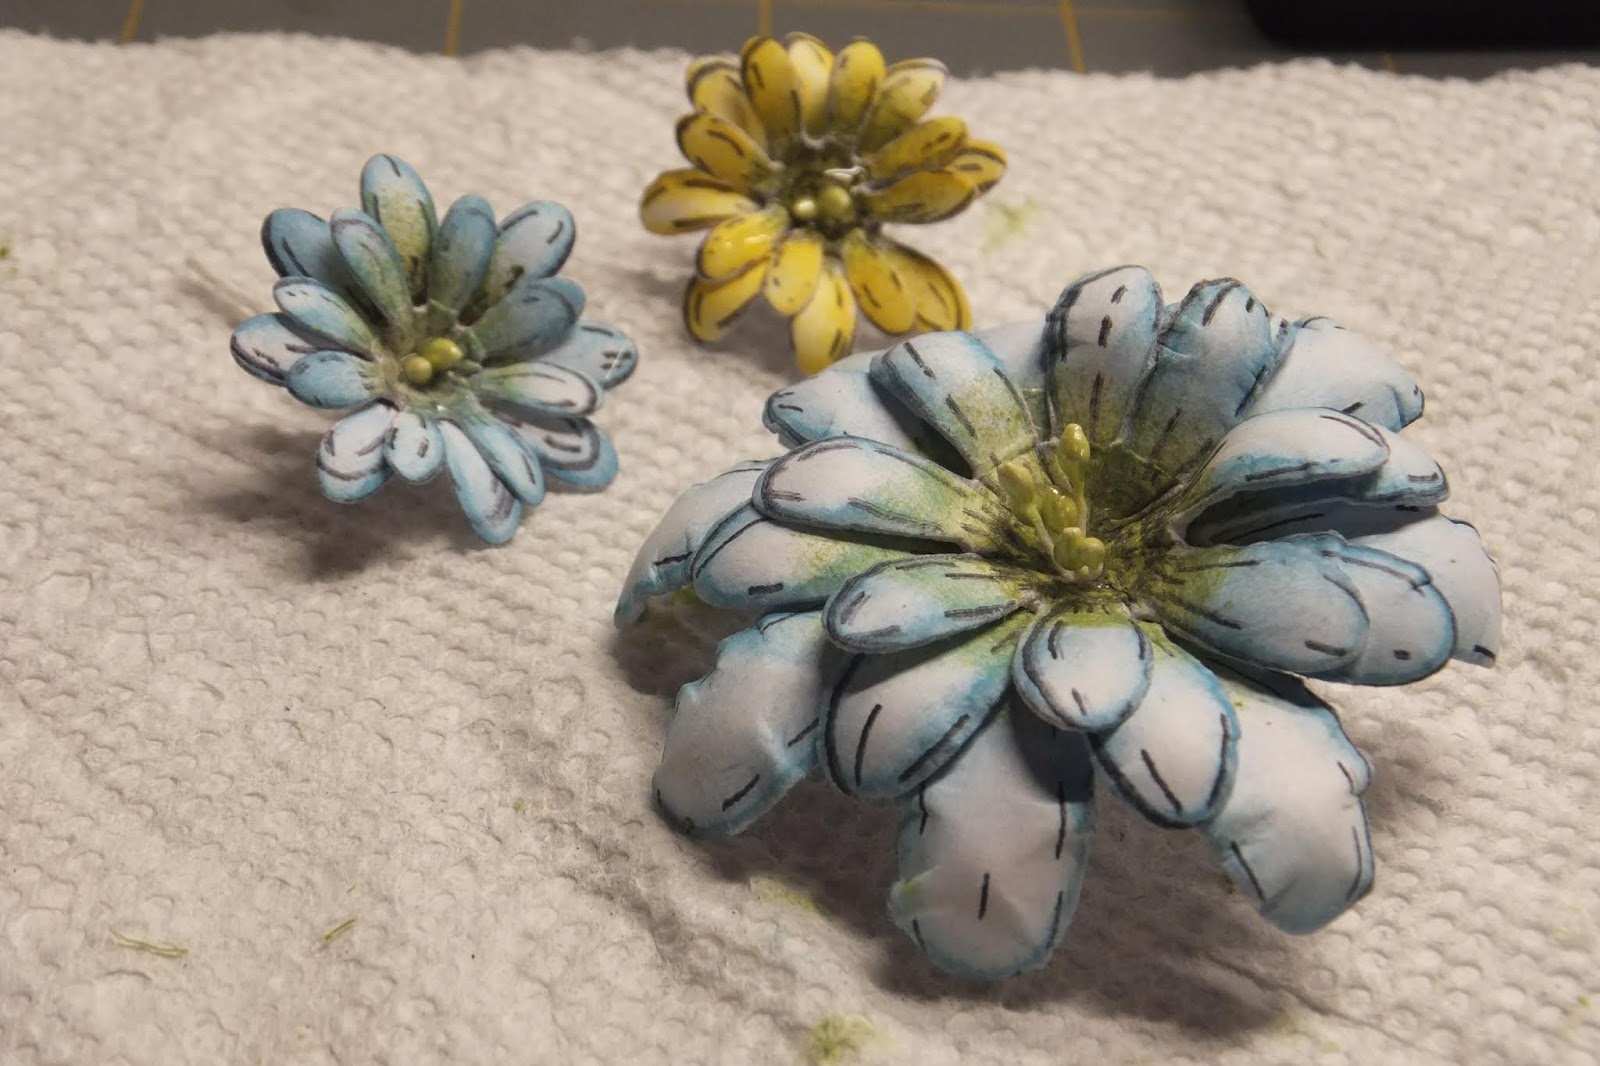
Flowers can be single, double or even multi layered ... your option and mix them up.

Here is this finished card with cluster of flowers.

More cards with more molded paper flowers. Above flowers are inked.
The flowers below are stamped onto colour cardstock. So many options.

Flowers can be used on layouts, cards, tags and so many other creative projects too... so have fun making them. Making them in your own personal colours to match each project is perfect.
Thanks for stopping by and hope to see you again soon.


