Joan here today and I have discovered the art of altering paint brushes ... my new favorite thing to alter!
Showing posts with label paint. Show all posts
Friday, November 17, 2017
Sunday, March 12, 2017
Tania's March tutorial - Mixed Media Art journal cover
Hi there!
Tania with you today to share with you a little tutorial on how I made the cover for my Dylusions Journal!
To start I added I added texture paste through my first stencil and randomly applied the pattern over the cover.
I repeated the above step using a second patterned stencil.
Next up I raided my trinket and wooden embellishment stash and found lots of yummy goodies.
I decided I wanted my design to go across the journal cover, so I got the glue and began sticking things down.
Next up I painted the whole cover with black gesso.
Once dry, the fun began. I recently purchased some of these gorgeous Finnabair Acrylic Paint Opal Magic paints!! Can I just say OMG these are just the best, you get a completely different effect when painted on either white or black backgrounds.....So I decided on black and just love the colour tones it produced :) :)
This is the journal once the paint had dried all finished with some close ups of the stunning colours!
Well that's all from me today!!
If you don't have any of these paints in your craft stash I highly recommend them, definitely a new product favourite of mine!!
Also don't forget we still have our gorgeous March Mood Board Challenge going.....
Until next time, thanks so much for stopping by and happy crafting.
*** Tania ***
*** Tania ***
Labels:
acrylic paint
,
art journal
,
mixed media
,
paint
,
Tania
,
tutorial
Thursday, October 29, 2015
Today is Nicole's tutorial
Adding Texture on a Mixed Media Canvas by Nicole Doiron
Hello to all my dear fabulous readers at Off the Rails Scrapbooking!
here today to share with you a step by step tutorial
on how to create lots of texture on a mixed media canvas
that I created for the October mood palette challenge.
Without further ado, let's get on with getting our hands messy!
First step, I added a heavy coat of acrylic gesso on my canvas
that will help seal all the different mediums that I've added on after.
A little Distress Crackle Paint is always a good way to add a cool effect
on your base. It creates cracks in your paint when dry.
I later on realized that the colour wasn't exactly what I wanted
so I covered the beige spots with white paint but the cracks still showed through
which is what is awesome about crackle paint!
I then used 2 of my favorite stencils and with thick molding paste,
I added some nice designs to my canvas.
Next up was time to add colour. This process is always very long for me as
I normally have no clue what I'm doing and what final result I will get.
The main thing is to not think too much about it and not be too hard on yourself.
There is ALWAYS a way to fix any spots on your canvas that you don't really care for.
Here, I sprayed on some Perfect Pearls Mist.
I then dabbed a lot of Distress Stain on to the stenciled design.
Here, you see the aftermath of many spritz of Heidi Swapp Colour Shine
which are some of my favorite mists. I then used my heatgun
to dry all these different products in order to go on to the next step.
I dabbed on some liquid glue here and there on my base
and then sprinkled on and glitter. Then, using my finger (I told you
it would get messy!), I mixed up the sparkly stuff with the glue
to make sure that it got really stuck to the canvas,
in preparation for the heat gun.
Even after all that, I just didn't have enough texture,
so I used some more crackle paint, this time in white.
Finally, I dabbed on some acrylic paint, metallic aquamarine and white,
all over my canvas. I always use lots of white paint all over my projects...
it blends together every colour so nicely and gives a lovely whitewash effect
which I just love.
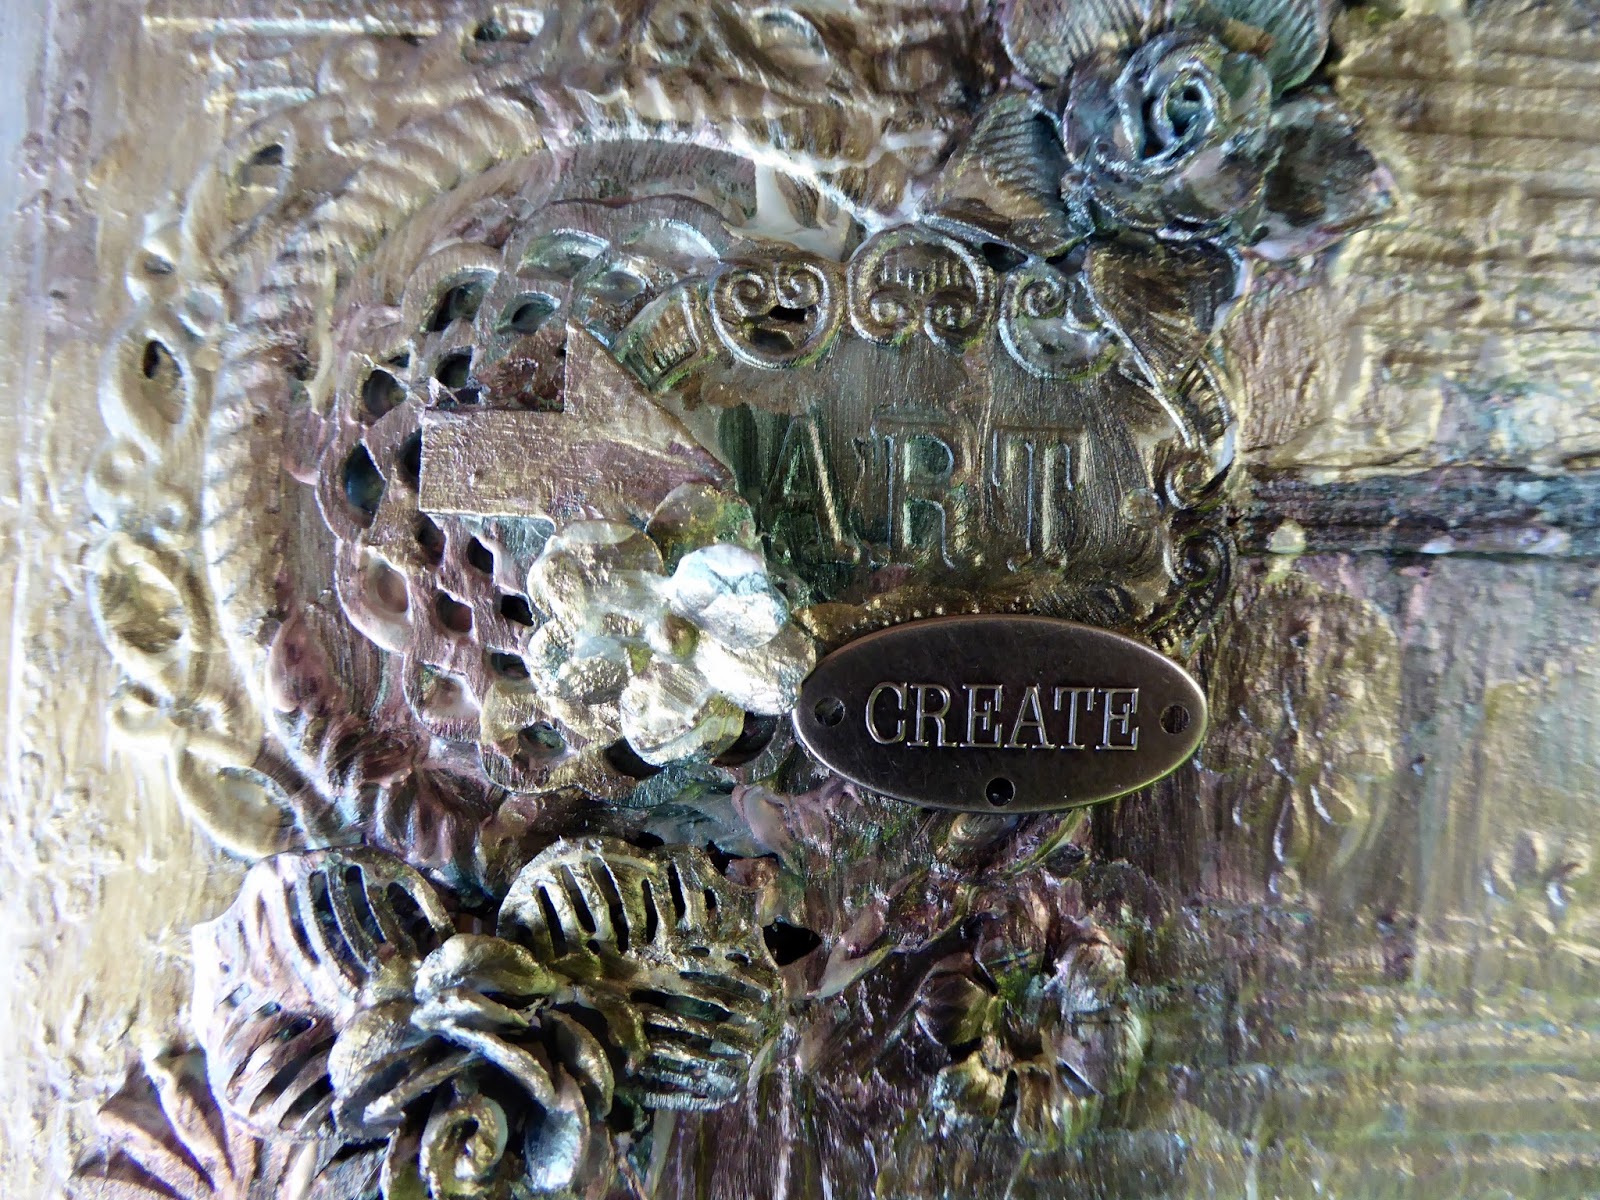
Here are 3 close-up details of the added texture:
This is my finished project which you have seen during the mid month reveal:
Did you like my tutorial today?
Please leave me some comments to let me know
and visit my blog at http://scrap-utopia.blogspot.com
to see more of my creations!
Have a fabulous creative day!!
Labels:
crackle
,
gesso
,
Heidi Swapp
,
layout
,
Messy
,
Nicole
,
Off the rails scrapbooking
,
paint
,
tutorial
Monday, October 27, 2014
Embossing Folder Stamping
Hi Bev here today to share a simple but so cool easy idea.
For all of us that have embossing folders this is for you.
Take an embossing folder with the brand name up .. open the folder
and on the side with the name brand on.. you use either paint dabbers,
glimmer mist, or ink pads to colour this side of the folder.
Now using a small water spray bottle squirt until you have water beads.
Take your white cardstock and place it down onto the folder holding it for a minute to absorb the colours and design... let dry and finish your card anyway you like.
I used matting, inked the edges and matted again on a print paper.. all to pop my image.
Add a SEM sticker border and sentiment and what a cute fun easy card.
If you like here is a video link to show you how to make this card.
https://www.youtube.com/watch?v=xfr5FlCO8iI
Thanks for visiting.. come back again soon.
Friday, June 6, 2014
Chipboard and Paint Card Challenge
What a fun combination chipboard and paint could be, I hope that you plan on getting messy. You can do so many things with paint to start with and then add chipboard into the mix. Shall we see how the design team used the two elements to create a card.
Rose
Felicity
one of my favourite things to do with chipboard is to coat it in paint and then add glitter or anything that makes it sparkly!

one of my favourite things to do with chipboard is to coat it in paint and then add glitter or anything that makes it sparkly!

We welcome a new sponsor for this challenge Artfanaticus
Artfanaticus is an Etsy shop selling digital papers, textures, backgrounds, cliparts and more.
Scrapbookers, photographers & artists will find amazing digital items for any creative project!
Find us at http://artfanaticus.etsy.com
Artfanaticus is an Etsy shop selling digital papers, textures, backgrounds, cliparts and more.
Scrapbookers, photographers & artists will find amazing digital items for any creative project!
Find us at http://artfanaticus.etsy.com
Happy Creating
Labels:
cards
,
chipboard
,
Design Team
,
Felicity
,
glitter
,
Off the rails scrapbooking
,
paint
,
Rose
Subscribe to:
Posts
(
Atom
)


