Showing posts with label Tania. Show all posts

Saturday, November 11, 2017

Mixed Media Canvas tutorial with Tania ... and farewell :(

Hi there!

Tania joining you today with a last share as part of the Off the Rails Scrapbooking Design Team.....  I have had a fabulous time over the past two years on this team so I a huge thank you to Amanda and the team!
So to finish off I thought I would share one of my favourite techniques with you Creating Mixed Media Canvas's!  If you like getting messy you will love this!!

"Finished Mixed Media Canvas"


I start by raiding my craft room for lots of embellishments, it can be anything from chipboard, flowers, buttons, metal trinkets, beads the list is endless!  

First up I used a scrapmatts triangle stencil with texture paste to add texture paste to the background.  Next was the fun bit adding your embellishments to your canvas, there is no right or wrong way, just pop them on and stick them down :)  I must admit I did position mine on this canvas more than I usually would as I wanted them to flow across the page..  As you can see they are all different colours, that doesn't matter...... why??


Now you are going to give them a thick coat of gesso, until they are all covered>


Next is the best bit, it's all good but this is so much fun adding all your colour....  I kept to the yellow/gold tones on this canvas as it was made for my daughter and yes she is yellow mad :) :)  I just kept adding colour until I was happy, but remember to dry each layer of colour with your heat gun, so you don't end up with a muddy mess especially if using several different colours......

This is my canvas before adding a photo!


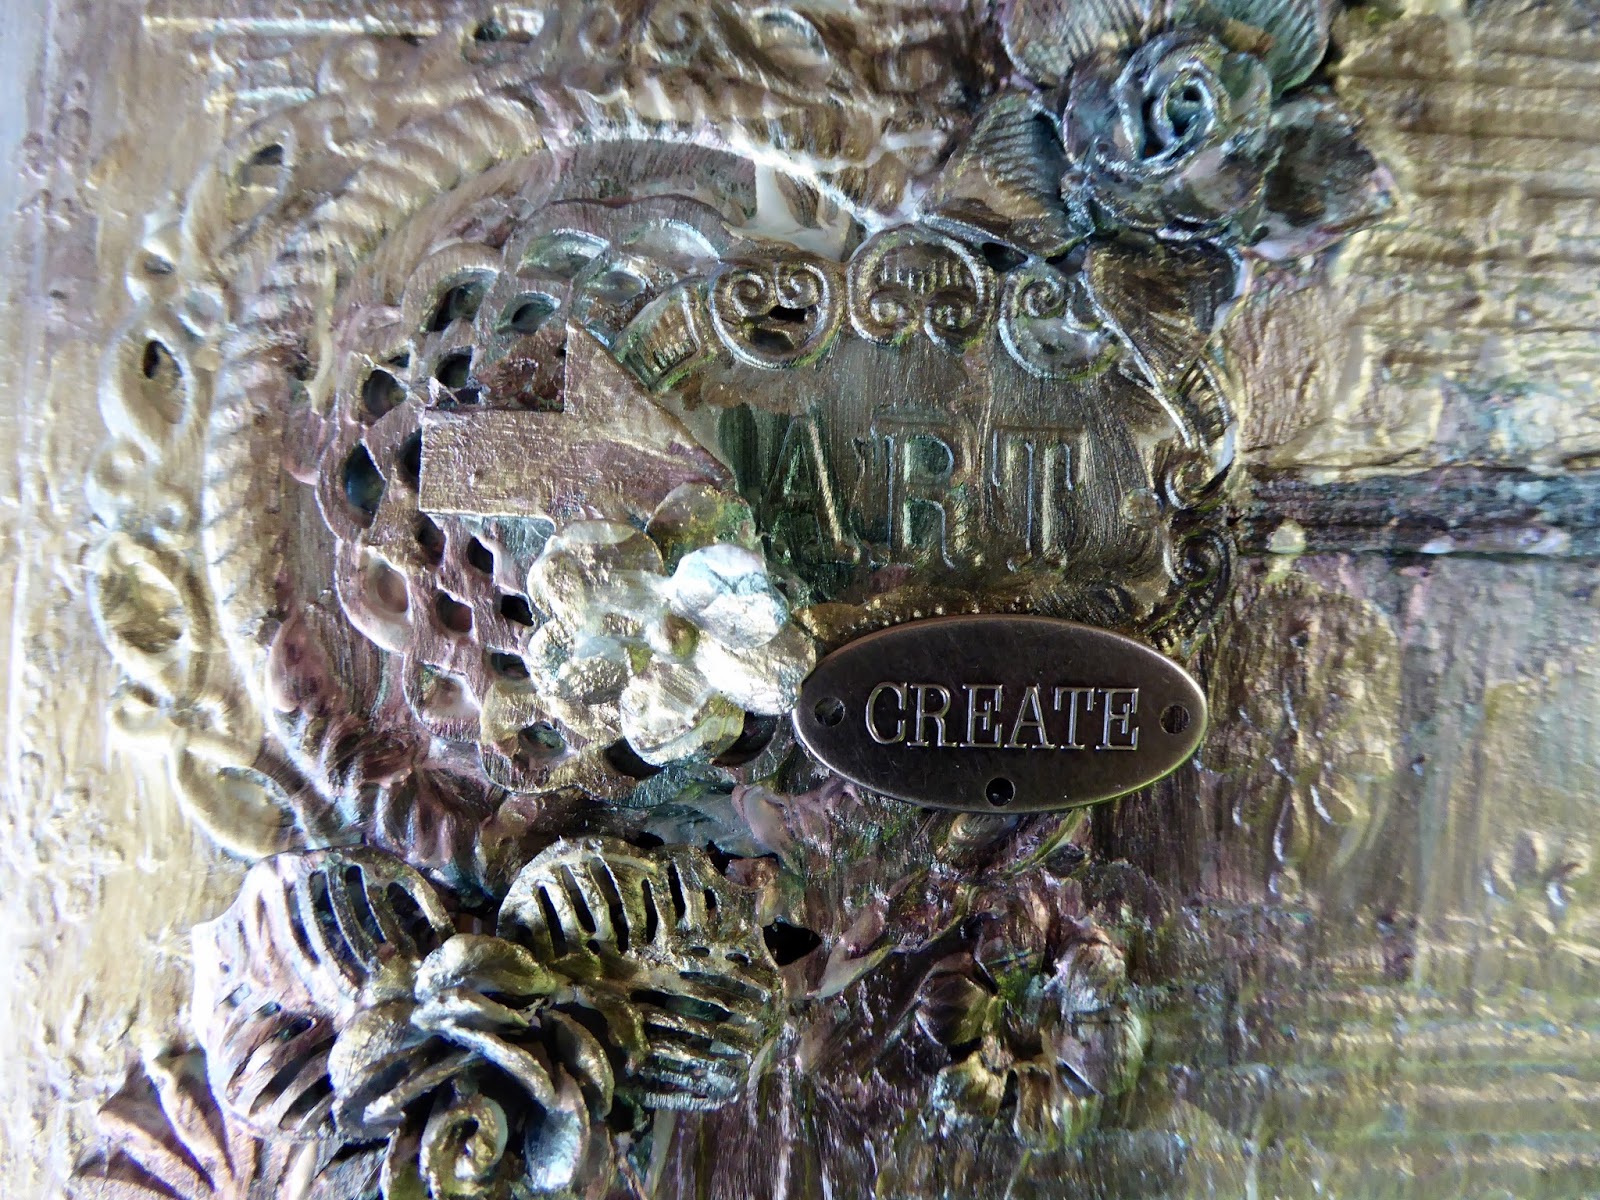
Some close ups........


These are just a few others that I have created over the last year!!


Well that's all from me today, I hope I inspired you all to raid your craft room and get a little messy it's so much fun.  Thanks so much for visiting me on the blog over the last two years and all the lovely comments........

Happy crafting Tania xx

***

We are sad to see Tania moving along but it's been wonderful to have her on the team and we would welcome her back any time.

Please leave Tania some love for her last share at Off the Rails Scrapbooking.

Louise xo

Monday, September 11, 2017

Quick and Easy Joy Fold card with Tania

Hi there!

Tania joining you today to share a tutorial for making a Joy fold card........

I have always loved making cards, but find making folded cards even more fun and rewarding than a normal card. 

There are so many different types of Folded Cards around, so I am going to share one of my favourites with you and this one is so quick and easy :)

Joy Fold Card

You will need:

A Scoreboard
Adhesive, either tape or glue
Cardstock
Patterned Paper
Ink
Stamps
Trimmer

Step 1
Cut your piece of cardstock 8 ½” x 4 ¼” and then score at 5 ½”.


Step 2
Cut another piece of cardstock 8” x 3”, score this at 4”.


Step 3
Cut your patterned paper 4” x 5 ¼” and adhere to the inside of your card.


Step 4
Cut another piece of patterned paper 2 ¾” x 4” and adhere to the front of your card.


Step 5
Cut another two different patterned papers 2 ¾ “ x 3 ¾”, ones that can be stamped on would work best, this way you can stamp a greeting on the top one, it is optional to stamp on the other one. Adhere them as desired to the inside and outside of your 8” x 3” piece of cardstock.


Step 6
Add some adhesive to the back of your smaller flap and then adhere to the inside of your card, slightly to the right. Make sure that your fold is to the right.


Step 7 (Optional)
If you wish to secure your flap into place, add either a stamped image or a circle with 3D dots, slightly over the edge in the bottom left corner to keep it closed.


Step 8
Decorate your card as desired to finish.


Well that's all from me, I hope this has inspired you a little to play around and have fun making some different styled cards! 


Until next time

Tania xx


Wednesday, July 12, 2017

Altering chipboard with Tania

Hi there!

Tania joining you today and I thought I would share a few quick and simple ideas with you all on how I like to alter my chipboard with different mediums :) this is just a few, there is so many ways!

You can use so many different products to alter your chipboard and here's just a few that I have tried out.........

First up a nice and easy one your good old Sprays or Mists!  I have to say you don't always get great coverage when just spraying directly onto your chipboard, the type of spray varies your coverage, I have actually found that applying gesso first helps a great deal as it gives the sprays something to bond too!


This is another easy one, applying paint directly to your chipboard simple and fast way to alter it and give you the colour you want.
  

Next up using alcohol inks!  With this one I added one colour over the entire piece of chipboard with the alcohol applicator and then used one of the metallic inks and randomly applied it with the applicator, love the affect of this one.
  

Time for a bit of shimmer, another easy one too, cover your chipboard piece with Glossy Accents and while still wet apply your glitter over the entire piece!  You can used any type of glitter I used some chunky glitter on this piece.  SO pretty don't you think?
  

Using your good old embossing powder is another great way to add a little texture and effect to your chipboard too.  Sometimes I will colour my chipboard first with a medium and then add some clear embossing powder, but most of the time I just add a coloured embossing powder!
  

The last one to share that is a favourite is to colour my chipboard first with a medium and then stamp over top!  I just love the effect that it gives! 


Well that's all from me, I hope this has inspired you a little to play around and have fun altering your chipboard!  As I said so simple and easy but gives your some great effects...........

Until next time Tania xx

Friday, May 12, 2017

Canvas on Canvas tutorial with DT Tania

Hello there!

Tania with you today to share a quick tutorial on how I made my Canvas on Canvas for this months Mood Board Challenge.

To begin I adhered the smaller canvas in the top right hand corner of the larger one!  Then I added a thick layer of heavy gesso with a sponge to give it that textured look.  I dried this coat off and then repeated the process.


Once dry I added some spritzes of water and then sprayed the canvas with Lindy's Stamp Gang Sprays and continued until I was happy with the depth and amount of colour.


Here I added a lot more colour once the first coat had dried.


Next up I used a script stamp and randomly stamped over the canvas.


I gave my chipboard pieces a rough coat of gesso. I them sprayed them with black Dylusions sprays, this helps the colour spray adhere and not soak through the chipboard.


I sprayed my flowers with the same sprays that I had used on the canvas so the colours all toned in with each other.


Next was the fun bit embellishing my canvas.


Once I was happy with all the embellishments and stuck them down, I finished off my canvas by adding some gold glass glitter and flicking some black spray randomly over the canvas.


Well that's all from me today!! 

Also don't forget we still have our gorgeous March Mood Board Challenge going.....
Until next time, thanks so much for stopping by and happy crafting.

*** Tania ***

Sunday, March 12, 2017

Tania's March tutorial - Mixed Media Art journal cover

Hi there!
Tania with you today to share with you a little tutorial on how I made the cover for my Dylusions Journal!


To start I added I added texture paste through my first stencil and randomly applied the pattern over the cover.


I repeated the above step using a second patterned stencil.


Next up I raided my trinket and wooden embellishment stash and found lots of yummy goodies.


I decided I wanted my design to go across the journal cover, so I got the glue and began sticking things down.


Next up I painted the whole cover with black gesso.


Once dry, the fun began.  I recently purchased some of these gorgeous Finnabair Acrylic Paint Opal Magic paints!!  Can I just say OMG these are just the best, you get a completely different effect when painted on either white or black backgrounds.....So I decided on black and just love the colour tones it produced :) :)


This is the journal once the paint had dried all finished with some close ups of the stunning colours!


Well that's all from me today!!
If you don't have any of these paints in your craft stash I highly recommend them, definitely a new product favourite of mine!!

Also don't forget we still have our gorgeous March Mood Board Challenge going.....
Until next time, thanks so much for stopping by and happy crafting.

*** Tania ***

Sunday, February 26, 2017

Making Card Background using Geli Plate with Tania

Hello everyone! I've been playing with my recently purchased Geli Plate, and having a bit of fun. It's one of those things that gives you different results every time! Not always a success, but if you just keep going you learn what mediums work better than others. I used some acrylic paints this time around and made some backgrounds for a set of cards! Hope you enjoy!!!

To begin, you will need a Geli Plate, they come in different sizes, this one is a 6x6".


Have some white cardstock on hand, your craft mat and a brayer and collect your acrylic paint colours. I also used some die cuts I had sitting on my desk. (You can use stencils, leaves, bubble wrap etc, the choices are endless, but be sure not to use anything sharp on your Geli plate!!!


Now for the fun part!!! Squeeze some dots of paint onto the Geli Plate, in a few different colours, then roll your brayer over the paint, back and forth, until it has covered the plate completely. (Don't overdo it, as it may become muddy!)


Once you have some colour on the plate, you can begin to add other detail. Try using the end of a pencil or something pointy, (but not sharp), to make some sqiggly lines or circles!


Next, add some die cuts!


When you have finished decorating your plate, place your white card on top, carefully, and then using a clean brayer, roll back and forth over the top of the card, to transfer the pattern!!!


Lift off slowly and check out your results. 


(I used 2 prints from the ones above, and another from a different batch I made to make my set of cards below.)


I love the results with the bright backgrounds!
For my music card, I stamped an image & sentiment and embossed in black. to make it stand out a bit more, I painted the flowers and leaves of the stamp with a little Distress Ink and a water brush. (Mounting the background image, also helps it stand out!) 


For the 2nd card, I mounted the image on black card again, then stamped and embossed the flowers and vase on a separate piece of white card, mounted that image and coloured parts of it with Distress inks and a water brush. I also added some gold with a Posca pen. I mounted the stamped image with foam tape and before finishing off with a sentiment, I added another touch of Distress Ink and water to the top right. The sentiment is a die cut! 


For the final card, I went for a slightly different look, by cutting the Geli Plate print into strips. I taped them to the card base for my background and edged the card in black ink. I stamped and embossed a sentiment, mounted that on black, and before mounting onto my card, I placed a strip of washi tape, to sit below the sentiment. Once mounted, I added some found items on my desk, (gemstones and a little stamped dragonfly).


Thanks for taking a look, I hope I have given you a little insight into how cool Geli Plates can be in your artwork!!!