Showing posts with label acrylic paint. Show all posts

Wednesday, April 11, 2018

Colour Bomb art journal page with Deb

Hello Off the Rails Friends,

Deb here with an art journal page based on our challenge for this month - Colour Bomb.

I started by brushing a coat of clear gesso onto my journal page.  I love the Liquitex brand as it is grainy and adds texture to the page to start with.  Whilst waiting for this to dry I gathered together my supplies.

I took the 2 smallest stitched circle stamps from the Colour Blast stamp set and using the black stamp pad, stamped the larger of the 2, 3 times down the middle of the page.  I then took the smaller stamp and stamped that top and bottom and also inside the larger circles.  I then took the row of circles from the MME stamp set and stamped that between the larger circles.


I took the Kaiser paint in Royal Blue and Lime and dry brushed the circles, alternating the colours.
I them watered down the paint and splattered both colours all over the page.
When dry, I took the Kaiser Bubblewrap stamp and using a number of colours of Distress Inks, I stamped on both sides of the painted circles.

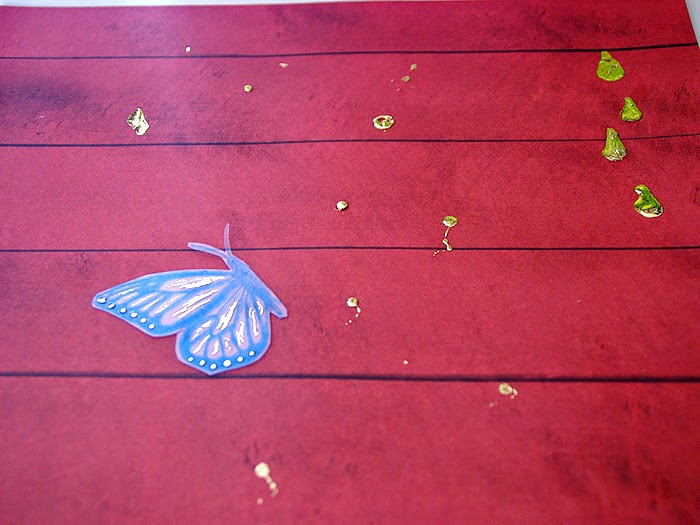
 I then used Dylusions Rose Quartz Ink Spray and lots of water to create the drip lines from the top of the page down.  I do apologise but my camera stopped working at this stage so I have no closeups of this.  When dry I added some Jane Davenport Washi Tape to the top of the page. 

At this stage I was really happy with how my page was coming together and loved the colour bomb I had created but thought it needed more!

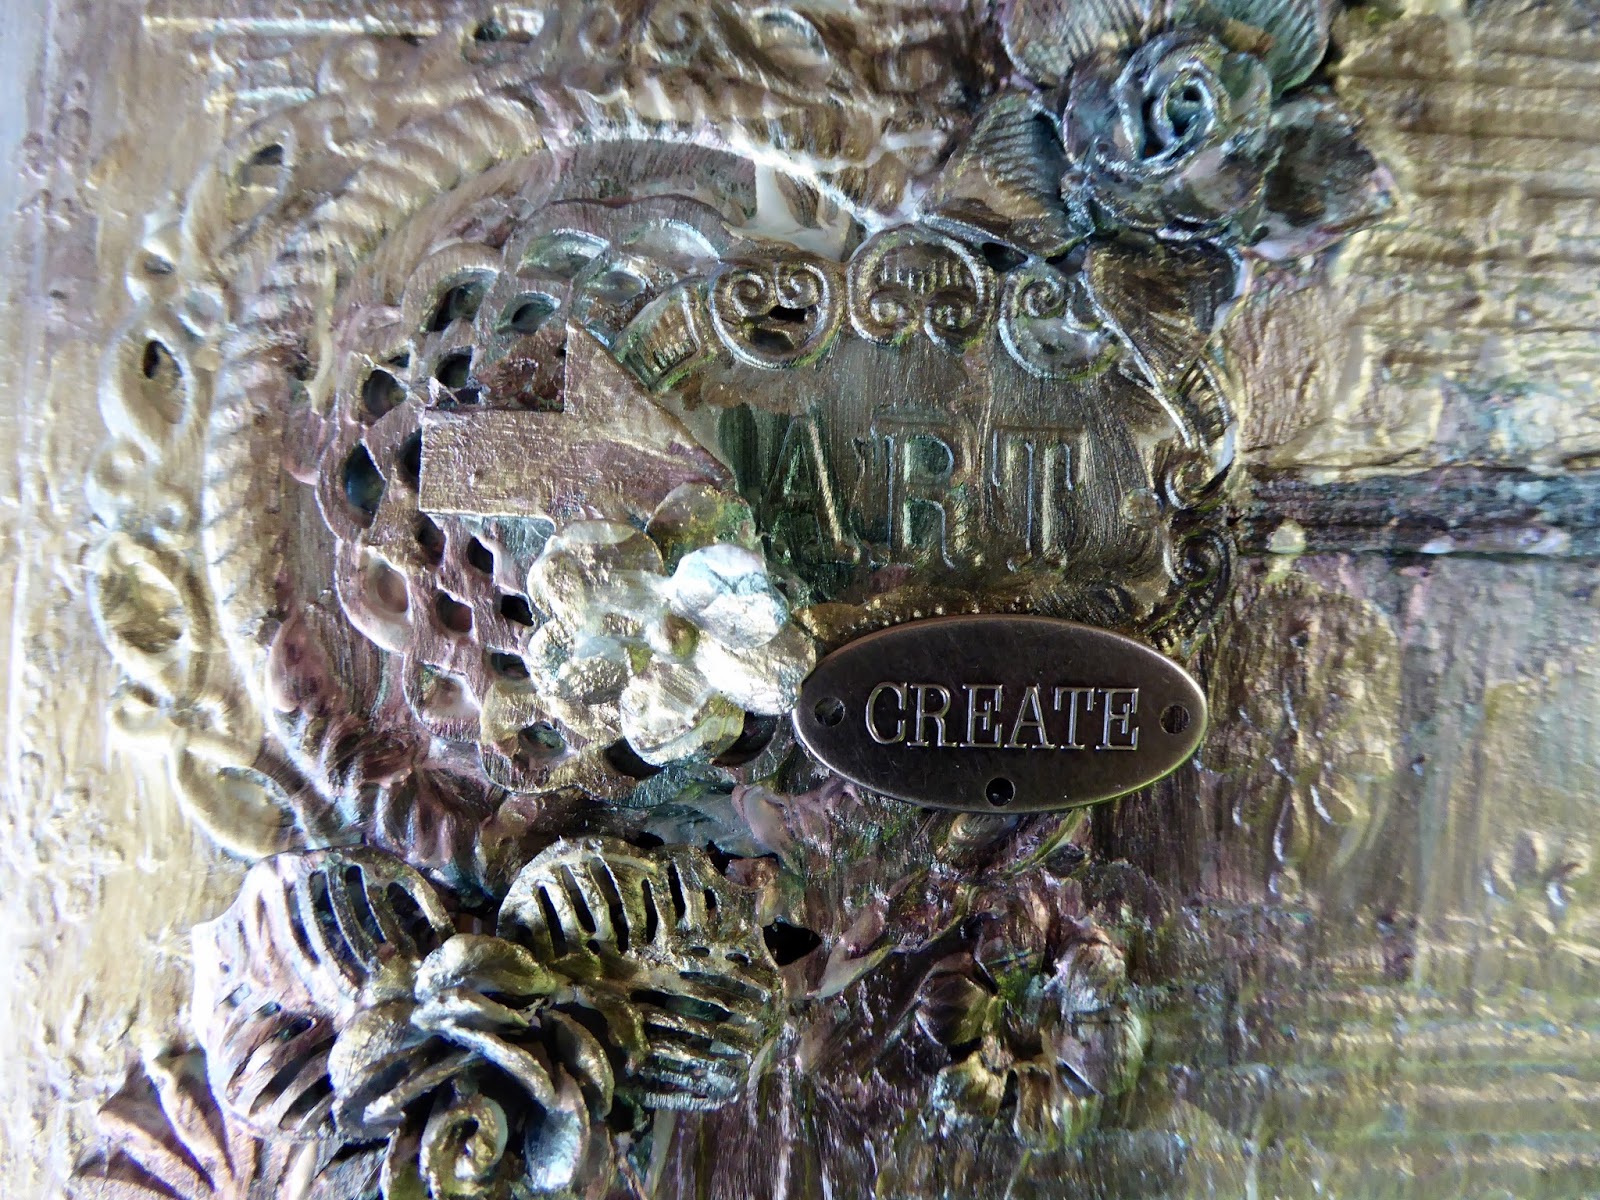
Using a small Kaiser stencil, I applied Viva Inka Gold in Hydrangea, andCosmic Shimmer Paste in Polar White and Ocean Spray in various places on the page.
I finished the journal page with a sticker from 13 @rts - Marta Lapkowska Small Messages.

I look forward to seeing what you come up with for our Colour Bomb challenge.


Thanks for stopping by
Deb xx


Saturday, February 17, 2018

"Fun Times" scrapbook layout with Brenda

Hello crafty friends and welcome to Off The Rails. I'm here with you today to share my latest page with you and I chose to use the challenge this month to create it.


The photo of my son Riley was taken some years ago. He was really doing his best to pull off the attitude that goes with the face painting. 


I started by background on white cardstock and I applied it with a baby wipe using Dylusions paints as I love the brightness of them. I picked three colours, two shades of orange and yellow.

Once this was dry I the used and orange and yellow Dylusions Ink Spray and let it run down the page. With the excess that run off I then place the page face down on it and created some more ink patches.


I tore a small amount of corrugated cardboard and applied with the same baby wipe a little of each colour but this time adding a little black. With paint pens I then put a little white across it.

 Next I used a Kasercraft stamp and some Archival Black ink here and there to give the background  some lines similar to what was painted on Riley's face.

With a white, orange and yellow paint pen I put some lines at the edge of the stamping.


White all this was drying I painted my A2Z Chippies with black for the title and silver for the chicken wire. Then It was time to glue everything down. 


After everything was glued down I the used a black paint pen to place triangles here and there. The paint pends dry so quick and by the time I had finished the last I was able to then do a white outlined  triangle inside the black. With this done my page was complete and loved by Riley. 

I hope you have enjoyed stopping in to see what I have created and I hope you will join us with the challenge. Create, photograph and attach to the link and let me and the other DT members see your take on the challenge. 

Happy Crafting
Brenda xxx

Sunday, March 12, 2017

Tania's March tutorial - Mixed Media Art journal cover

Hi there!
Tania with you today to share with you a little tutorial on how I made the cover for my Dylusions Journal!


To start I added I added texture paste through my first stencil and randomly applied the pattern over the cover.


I repeated the above step using a second patterned stencil.


Next up I raided my trinket and wooden embellishment stash and found lots of yummy goodies.


I decided I wanted my design to go across the journal cover, so I got the glue and began sticking things down.


Next up I painted the whole cover with black gesso.


Once dry, the fun began.  I recently purchased some of these gorgeous Finnabair Acrylic Paint Opal Magic paints!!  Can I just say OMG these are just the best, you get a completely different effect when painted on either white or black backgrounds.....So I decided on black and just love the colour tones it produced :) :)


This is the journal once the paint had dried all finished with some close ups of the stunning colours!


Well that's all from me today!!
If you don't have any of these paints in your craft stash I highly recommend them, definitely a new product favourite of mine!!

Also don't forget we still have our gorgeous March Mood Board Challenge going.....
Until next time, thanks so much for stopping by and happy crafting.

*** Tania ***

Friday, July 10, 2015

Gelli Plate Printing


Joan here today sharing a tutorial using my new favorite tool … a Gelli Plate. 

What you will need:
Gelli Plate ( mine is 8 X 10 inches)
Craft mat
Cardstock
Canvas bag
Acrylic paints ( I used Ranger Distress Paint)
Rubber brayer
Stencils (variety)

1) When I’m working with the Gelli Plate I cover my work surface with a craft mat and place a piece of cardstock on top of the mat and under the plate.  (For extra protection.)

2) I added a little paint onto the Gelli Plate. (A little goes a long way.)


3) Using a rubber brayer I spread the paint over the plate blending the colors into a thin layer.


4) I placed a variety of stencils on top of the wet paint.


5) I removed the stencils from the plate to reveal the design.

6) I placed a canvas bag on top of the plate and pressed down gently with my hands.  I turned the bag over and repeated the process.


7) I lifted the canvas bag off the plate and VIOLA! … oh the possibilities! 


8) I attached some flowers to the front of the bag to complete it. What a unique little gift bag.


Here's another bag I made ... no two ever turn out exactly the same.


Monday, May 25, 2015

Step-by-step on Sanna´s May Moodboard layout

Hi there, everyone, Sanna here today to share with you a fun and simple step-by-step on my May Moodboard layout. Here is what I did:


I first took a piece 12x12 inch piece of acetate foil and stamped half image of a butterfly with blue StazOn stamp onto it and then fussy cut it.


Next I applied some PVA glue splatters onto the woodgrain paper and also onto the butterfly image. I let the glue dry. When it´s dry it turns transparent.

I then took a sheet of transfer foil that works with PVA glue and rubbed the foil piece onto the glue area with my finger. This way the golden foil layer transfers to the recently applied glue area. Make sure you work fast when you see the glue turn transparent, don´t wait too long since when the glue is completely dry the foil might not stick to it anymore. On the other hand if you go over the area when the glue has not dried properly, the foil will not stick to it yet. Therefore make a small test on a piece of extra paper to get a feel for how the glue works.

Here you can see how the result looks like both on paper and on the acetate piece. Lovely gold foil effect!!

Next I applied some Dina Wakley turquoise acrylic paint with a sponge onto the background. I just dabbed it onto the paper and created small coulds here and there.

After the acrylic paint layer was all dry I went and added some stamped sentiments/quotes here and there for additional detail. I used a Technique Tuesday Studio AE stamp set called "Saying Hello" here.

Next I added some Glimmer Glaze splatters here and there to go with the black stamping.
After that I cut some black and blue paper strips to go to both sides of the page for additional interest. I also added a few pieces of patterned paper underneath the photo and doodled around the edges of those papers. All my journaling (as it is again very personal and I prefer not to share it with the whole world) is hidden behind/in between those papers. There is enough space on both sides under the blue paper piece to add plenty of journaling :). I have also added a few puffy stickers from Evalicious here and there for interest. Besides, I love those little puffy stickers to pieces - got to use them where I can :).

Finally I also added some embossing enamel to go with my golden water drops. This one is a shabby white with gold pieces in it. See how the faucet also has a golden shimmer to it? That is because I also applied some PVA glue over it and added some gold foil here and there. That´s it, my layout is done. Here is the finished result and some detail photos:


I am glad I got the chance to take a class by Emma Trout a few years back and she featured this PVA glue & foil technique to us there. So all the credit on that idea goes to her. Needless to say that now that gold foil is very trendy, I am happy to possess this glue and quite a few sheets of the foil in my stash. I hope you give this fun technique a try! Enjoy!!!

xxx, Sanna