Showing posts with label Lynn. Show all posts

Sunday, June 19, 2016

Art Journal Page with Lynn

Hi, I would like to share an art journal page that I have created.  This page is about my youngest son who has recently left home to embark on his lifes journey.


Here are some close ups :


I have created a step by step tutorial:


I started by placing the masking tape, dictionary paper and music sheets randomly around the page with 3D Matte Gel


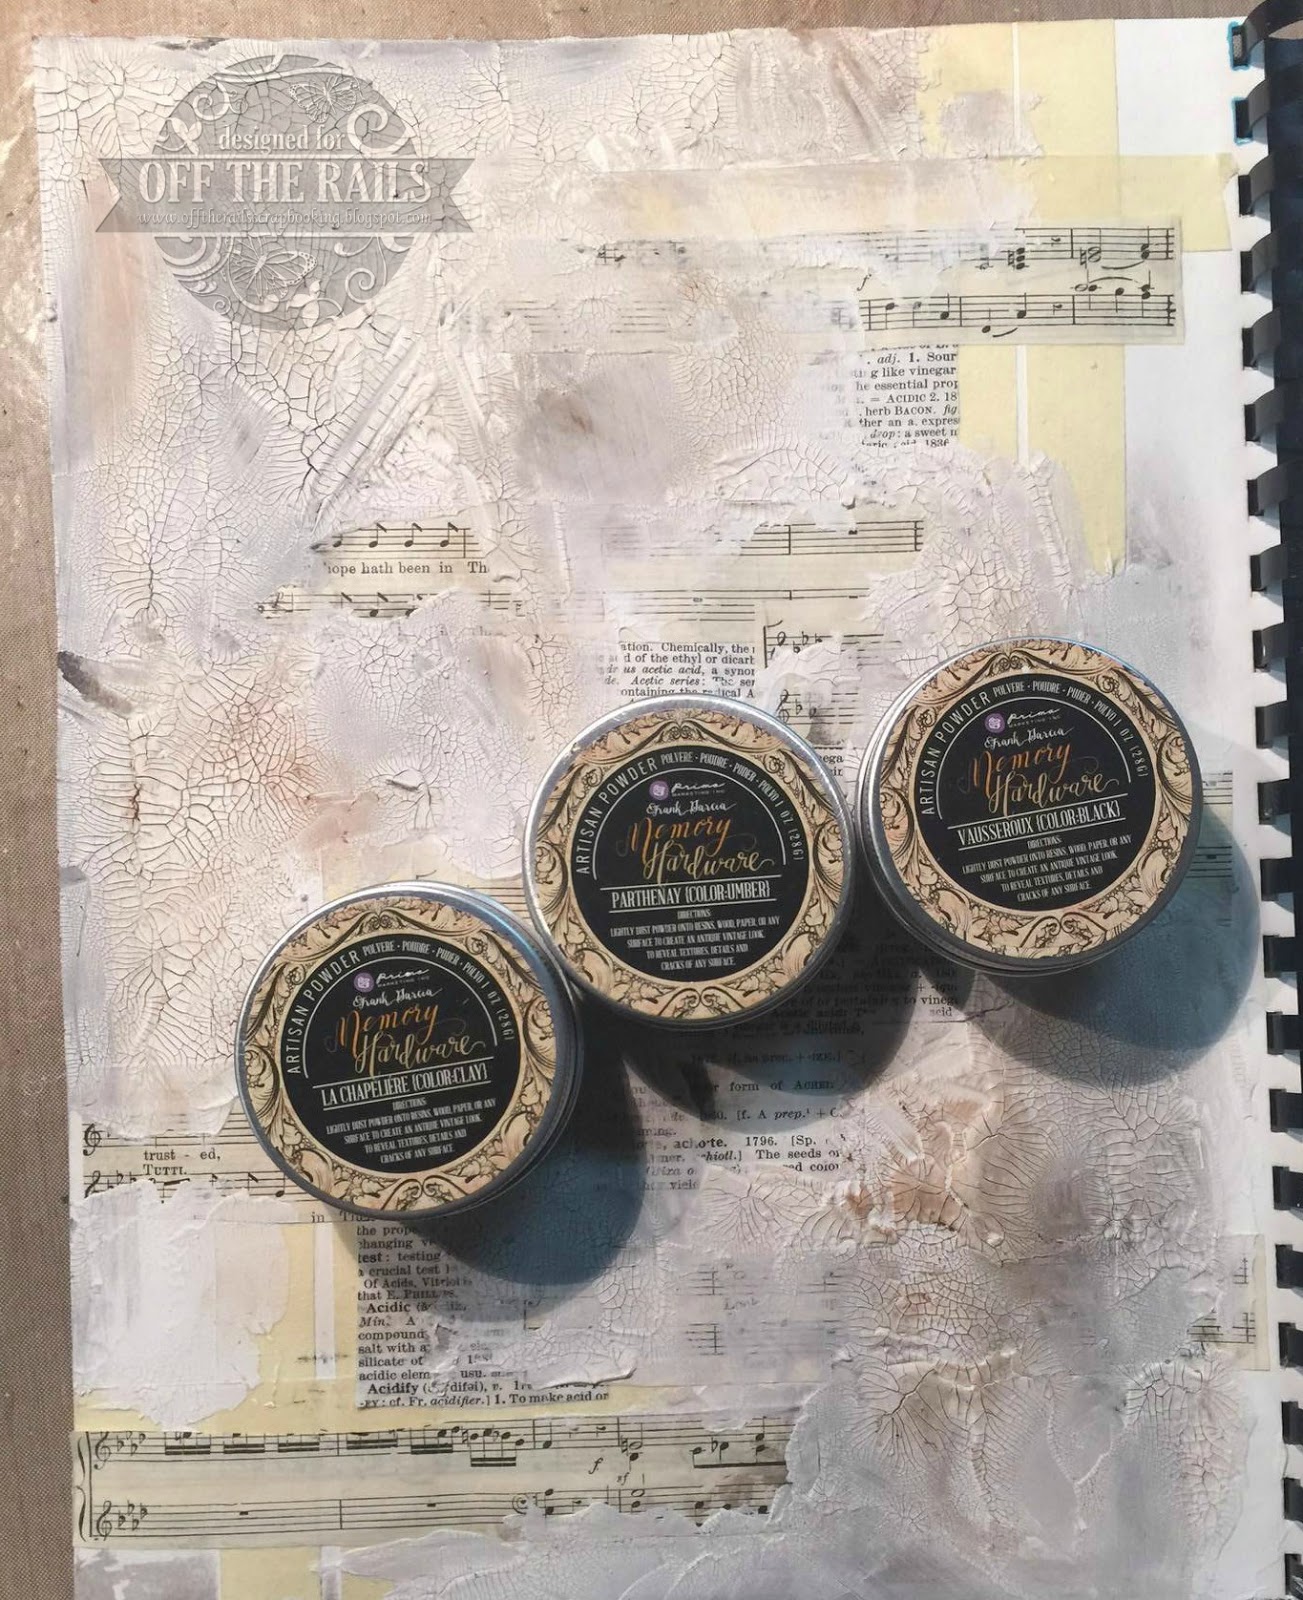
I applied crackle paste and then when dried I used Prima Artisan Powder


A little touch of blue using Distress Crayon - Mermaid Lagoon


I then created some hearts using Dylusions Paints - London Blue and Lemon Zest.


I outlined the hearts with Neocolour II pastels in Black


I then stamped inside the hearts with a clear Prima Stamp and black ink


I then added some water drops with a Gabrielle Pollacco The Scrapbook Diaries stamp. a title using stickers from my stash and some white gesso splatters.


Products used: 


 Crackle paste, Masking Tape, Music and Dictionary paper, Prima Artisan Powder, Gabrielle Pollacco The Scrapbook Diaries stamp, Dylusion paints, Prima Clear Stamp, Distress Crayons, Posca Pen and Neo Colour II pastel.


Til next time - Happy Crafting :)


Tuesday, April 19, 2016

Moments Layout Tutorial with Lynn

Hi, Lynn here - I would like to take you through a photo tutorial to create this layout for this months challenge (just a warning - you might want a cuppa as it is a little lengthy but hopefully informative !)


I have used Blue Fern Studio Paper - Love Story and a The Crafters Workshop Stencil with Whipped Spackle.  Once this is dry I have used Distress Paints (Broken China, Mustard Seed, Worn Lipstick) around the textured areas.


To create the effect I have dabbed the paint onto plastic (use an old bag your embellishments come in) and then spritzed the paint with water.  Turn upside and place the plastic onto the layout.  Dry with a heat gun - it generally pays to dry between colours, although the Tim Holtz paints dont blend together.


I have used an Indigo Blu Stamp - Raindrops and Lindy Stamp Gang Embossing Powder - Borgain villea Red Teal randomly around the painted areas.


Randomly stamp around the areas with black ink and a script stamp


For the photo matt, I haved used Bo Bunny Country Garden paper and inked the edged with Distress Ink - Worn Lipstick.  I have cut different size pieces and stapled together.


I have made all of the embellishments other than the chipboard as follows:

The butterflies. 


 I have dabbed the three distress paints used earlier randomly onto the card and spritzed with water.


Move the card around until the blend and you are happy with the colours


Stamp the butterfly images onto the painted areas and fussy cut out


For the flowers - I have used a Deep Red stamp and Embossing Powders


Then I used a water brush and Distress Inks to colour them in and fussy cut out


The chipboard has been inked in black and embossed with sparkle embossing powder


The title embossed in blue embossing powder. 


 Now you are ready to put it all together layering the flowers in and around the photo mat.


I hope that you found some useful tips in this tutorial and thanks for stopping by.

Until next time Happy Crafting. Lynn


Tuesday, February 16, 2016

Background tutorial with Lynn

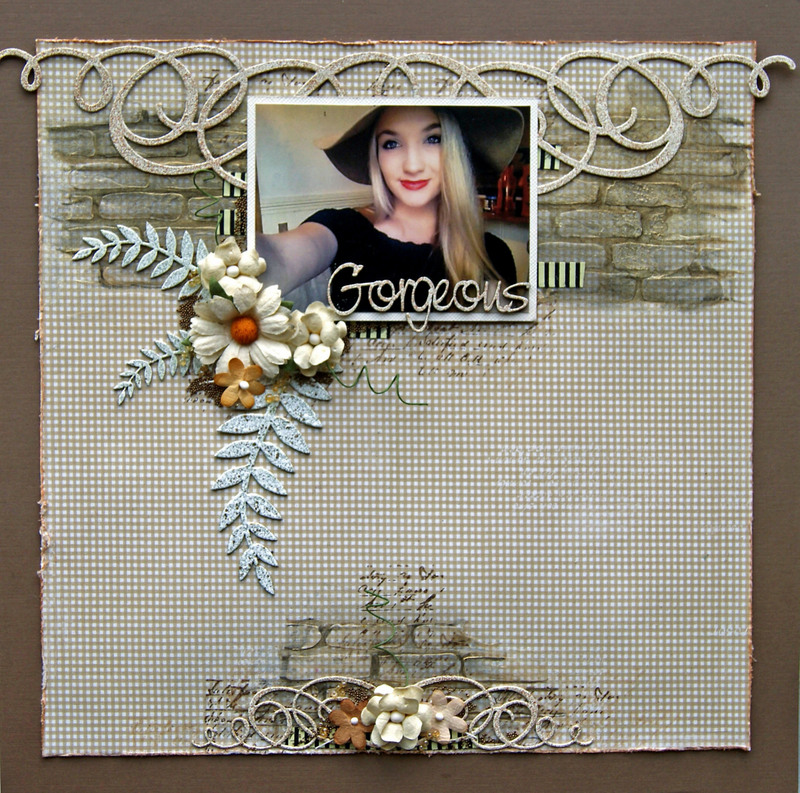
Hi.. Lynn here today. Having two mood boards this month has been great.  This is my second layout and I chose to go with the Summer Days layout.  I actually had a photo of my son's girlfriend wearing a big hat, so I have been inspired by the colours and the picture.  I have created a photo tutorial of creating the background.


Start by cutting 2cm off each side of 12x12 patterned paper and lay on top of the plain 12x12 cardstock.  I have used patterned  paper by Maja Design - Fika.


Lay out the photo and chipboard and mark with a pencil the area of the photo (No point in wasting products that wont be seen!)


Using a brick stencil and 3D Gloss gel, add some bricks around the area of the photo and at the centre of the bottom of the page.


While you are waiting for the bricks to dry, cover the chipboard with gesso and emboss with embossing powder. I have used whichcraft do you do chipboard and Stampendous Embossing Powder - Golden Sands and Shabby Green.


Now the bricks are dry, I have sprayed around the bricks with Lindy Stamp Gang, "Gossamer Gold" and dried with the heat gun, pushing the spray in the direction I wanted.  I then applied Tattered Angels Chalkboard Paint " Iron".  I used the nozzle of the sprayer and painted around the edges of the bricks and then blended with my finger.


Now you can building the page with embellishments. I have placed ripped pieces of washi take around where the photo is going to go and randomly stamped a script stamp around the bricked areas.  Once you have placed the embellishments to your liking, glue them down and add glass and micro beads for that final bit of bling.

I hope that you have enjoyed this short tutorial and have a go yourself at this months challenge.

Til next time - happy crafting :)


Sunday, February 15, 2015

February Mid Month Reveal

Hello Off The Rails Scrappers. Are you ready to see some more inspiration from our Design Team? They have been busy busy busy with this months beautiful mood palette. How are you going with it? Inspired yet? Well if not, here are some more amazing projects from the team to help.

Here is the Mood Palette


And here are their amazing interpretations!


You have 13 more days to join the challenge and a chance to win a $25.00 voucher to spend on Kaszazz products (International winners stamps only). Plus Pam Kuhn, Kaszazz consultant is offering a spend $50 get $50 offer for all new Kaszazz Crafy Club members. You can check out all the details HERE.

Good luck!


Friday, February 6, 2015

DIY - Washi Tape

Hi Lynn here with you today.

Last month I kicked the tires on making your own enamel dots.
I loved doing that and decided that maybe I'd
test drive making your own washi tape.
Again - there are a bunch of tutorials out there and I thought I'd narrow it down.

You'll need parchment paper and I used a 1 inch roll of masking tape.
I did  pick out some paints and stamps and then decided to change things up a bit.
 Lay out strips on your parchment paper - which allows you to remove
the finished product without losing the sticky.
 I used a craft smart mustard yellow enamel paint and slapped it on the tape end-to-end.
 The next I wanted to try a Ranger dauber - green - but all it says on the label is earthtones.
 I also tried an ink pad - that has chalk in it.
  It does take the chalk ink a bit longer to dry.
 And depending how much color you want you have to dab a few extra times.
 Since there was a lot going on I decided that StazOn ink would be best.
 I'm not the greatest stamper in the world - but I really liked the outcome on each.
 I liked the swirly texture from the dauber and used another chalk ink-Studio G 
to stamp the adorable "prima looking" flower stamp from Studio G.
 So far so good.
 Went back to StazOn because I wasn't sure of chalk ink on chalk in.
And the stamp is from Creative Cafe. A total blast from the past.
 And wa-la used the heat gun to get them dry and left them under the lamp for good measure.
As you can see the "washi" tape lifts right up.
 I used pincher clothes pins to wrap the "washi" around.
You are good to go as long as the front and back don't meet. 
So wrap the first little bit around one of the pins.
 From there you can wrap around both pins and it won't hurt the "washi"
doing that. It pulls off rather nicely and rips off easy.
There you have it - 3 varieties of "washi" of which I used one for a page.
Guess?
 The green worked out so perfect on this page.
Blending in nicely with the watercolors and embellishments.
 Used it in 3 places and love how it turned out.
 Can't see much of the flower but it works.
The finished product.
I'm not concerned about the tape per se, as I kept it from the photo.
Also I really don't get overly concerned anymore about items not acid and lingen free.
I found a scrapbook my mom made back in high school with
all the things they tell you NOT to use - and after 60 years it was practically
pristine. It was kept in a cedar lined chest for some time but,
I have been a rebel for about 12 years and never had issues with using
shall we say, non sanctioned scrapbook supplies.

Paper Studio, Kaiser Craft and Bo bunny papers.