Showing posts with label Julie. Show all posts

Friday, June 1, 2018

June Challenge - Water, Sun, Bikinis


Welcome to 

Off the Rails

MAY CHALLENGE

This month we have some stunning colours for you to work with
the designers have given you some gorgeous inspiration 
Please visit their blogs if you like their work, and see what they have going on, don't forget to follow them.  


Sunday, May 13, 2018

Scrapbook layout tutorial from Pinterest by Julie

Good morning Off The Rails fans

Today I want to share a tutorial with you that was inspired by a picture I saw on Pinterest.

I must admit it took a bit of doing because it entails cutting up a photo and I was worried that I might ruin it.

The layout is very simple and yet I just love how it turned out.

The photo was 7 1/2" tall x 7" wide


I have used an embossed metallic paper, a glitter patterned paper and 2 sheets of black cardstock. For an embellishment I am re-puposing an old necklace.


I have cut my photo at 2" and 5" giving me 2 pieces at 2" wide and one (centre) piece 3" wide.

I could have cut it into even sized pieces but I didn't like where the cut fell in relation to Cindy's face.


Cut photo mats from black cardstock. 2 pieces at 2 1/4" x 7 3/4" and one at 3 1/4" by 7 3/4"


Attach the photos to the mats


Cut the silver embossed paper to 11 1/2" by 11 1/2" and attach it to a 12" by 12" piece of black cardstock.


Cut the patterned paper to 2 1/2" by 11 1/2" and attach to the layout 3" up from the bottom


Using your hot glue gun attach a piece of cardboard to the centre piece of your photo.


Attach your photo to the layout as show in the photo below, staggering the tops of the photo and slightly overlapping the bottom.

Attach the embellishment using the hot glue gun


Add your title and journalling and your layout is finished.


I would love to see your take on this layout, so if you are brave enough to cut up a photo, and lets face it you can always get it re-printed, please share it with us here at Off The Rails Scrapbooking.

Cheers
Julie

Wednesday, March 14, 2018

Card tutorial with Julie

Hello to all of our Off The Rails Scrapbooking friends.

Today I am sharing a card tutorial with you. I have made this card to send to my Mum with a letter inside because I know that she checks her letterbox each day and I think it would be nice for her to receive a surprise letter.

This is the card. Hope you are inspired to get your bits and pieces out and create along with me.


I have used a 6" x 6" card base in a pearlised cream. For my patterned papers I have chosen a Kaisercraft 6 1/2" paper pad and Collectables from the Secret Garden range. A couple of old flowers that I have layered on top of each other and secured with a brad, a beautiful lace motif that my Mother gave me and some diamanties.


I have cut a piece of patterned paper the same size as the card, distressed the edges, adding a small tare on the top edge. All of the papers used on this card have distressed edges that have then been inked with a black Versa Colour ink pad.
This was then attached to the front of the card base.


I then chose a self patterned piece of paper and cut it to 5 1/2" by 5 1/2", treated the edges and attached it centrally on the patterned paper using foam tape


The 3rd piece pf patterned paper was cut to 3 1/2" x 5 1/2", edges treated the same as the other papers and attached 1/2" in from the left hand edge of the second patterned paper


I found a little run of hearts in the collectables packet so I inked the edges of it and attached it along the edge of the patterned papers as shown here.


Using my hot glue gun I attached the pink flower and the lace motive to the card.


I also found an assortment of embellishments that I wanted to include on the card in the collectable pack. The blue arrow is attached using the hot glue gun also as I have stuck it on top of the flower and I wanted to ensure it was going to stay in place.


The blue ticket was attached to the sentiment using glue and then the sentiment was attached to the card using foam tape


I thought the flower needed a bit of greenery around it so I dug around in the collectables again and found the leaves and attached them  as shown.  The diamanties were also added at this stage.


I hope you have enjoyed this tutorial and I would love to see what you create using this as inspiration.

Thanks for coming by Off The Rails Scrapbooking today

Till next time
Hug
Julie


Saturday, January 13, 2018

Card Tutorial with Julie

Hi and welcome to Off The Rails Scrapbooking

Today I am sharing a tutorial on how to create this card


This is what you are going to need.


Score and fold the black cardstock at 6" to make a 6" x 6" card base

Using the 5 1/4" x 2 1/2" pieces of cardstock and velum, mark down from the top 1/2" and in from the sides 1/2" and cut the corners off to make a tag shape.

Attach the velum to the cardstock. I used glue behind the pattern on the velum to do this so it would not show through the velum


Ink the edges of all your papers.

Using your Crop-o-dile, or similar, attach your eyelet to the tag.

Thread the ribbon through and secure in place. I have used a staple because my ribbon was very short but you could tie it off if you have longer ribbon.


Attach the 5 1/2" piece of cardstock centrally to the 5 3/4" piece of patterned paper

Then attach the 5 1/4" piece of patterned paper on top of the 5 1/2" piece


Using the square pieces of paper, attach the 2 1/2" piece centrally on top of the 2 3/4" piece and the 2 1/4" piece on top of that.


Layer the scalloped circle and the circles as shown


Assemble your greeting. I have made my greeting mat 1/4" wider and longer than the greeting


These are the items you should now have.


Attach the tag to the large square assembly 1/2" from the left hand edge and 1/2" from the bottom edge.

I found that I had to use glue to do this as the d/s tape did not want to stick to the glittered paper I had used.


Take the small square assembly and run it through your Big Shot (or similar) with an embossing folded to add a little bit of dimension.


Attach this to your card panel 1 1/2" from bottom and 7/8" from right hand edge


Attach the circle assembly 3/4" from the bottom and 1 1/4" from the left edge using foam tape.


Attach sentiment in a suitable place according to your sentiment size. I have stuck mine 1 3/8" from the bottom and 1 1/2" from the right hand edge.


Add brads to the top right hand corner approx 1/2" apart.

Attach the card panel to the card base and you are done.

If you used a dark colour for your card base you may want to add a light coloured cardstock to the inside of the card so you can write your message. I will write my message using a white gel pen.


Hope you have found this tutorial interesting and I would love to see your makes if you decide to give it a try

Till next time
Hugs
Julie


Monday, November 13, 2017

Art Journal page tutorial with Julie

My turn to share a tutorial with you today and I wanted to share an Art Journal Page I created recently.

I find that my interest in Art Journalling is growing and I just love the variety of techniques that are waiting to be tried.

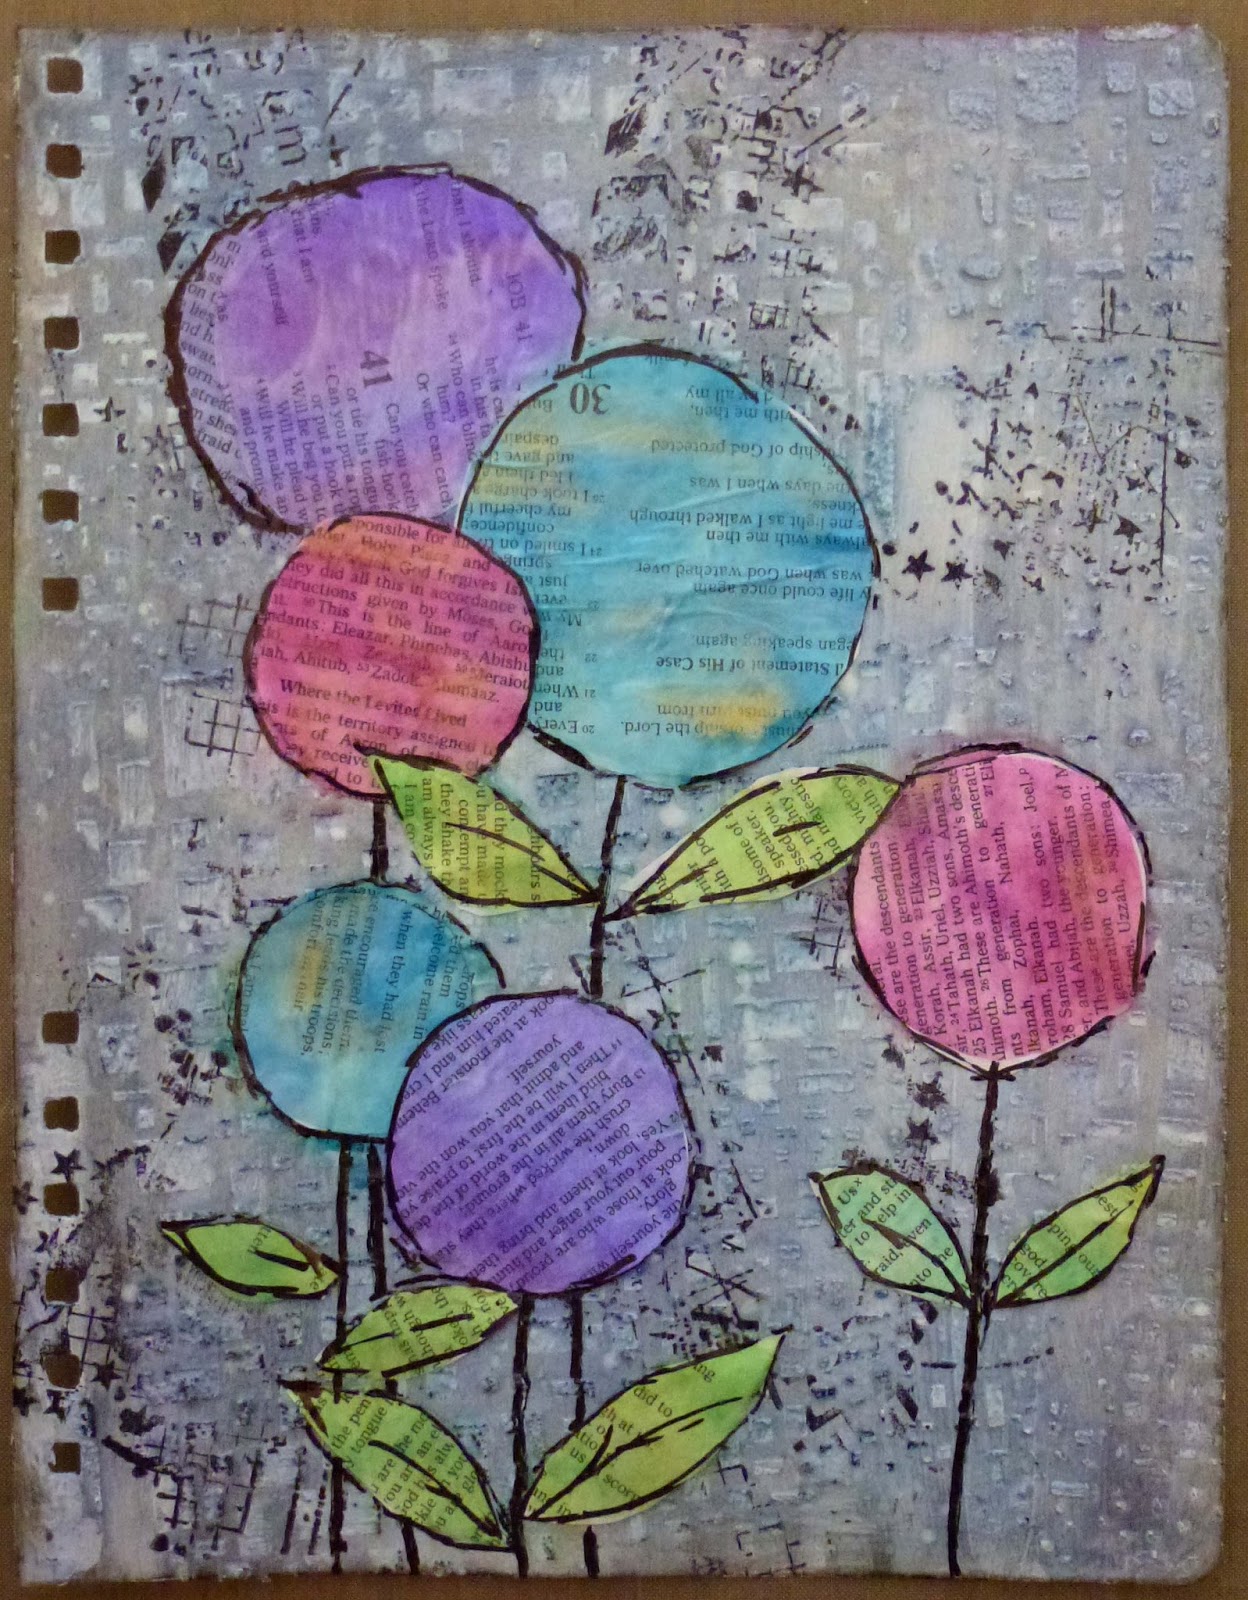
This is the page


I am using a Finnabair Art Journal that I have had for a few years. I have taken the journal apart so it is easier to work on each page and when I have completed all the pages I will re-assemble it.
The pages in it are a kraft colour so I have applied a light coat of Gesso to tone it down.


I then applied some Mont Marte Modelling Paste through TCW's Mini Cubist stencil


When everything was dry I used Distress Ink's and a blending tool to apply Dusty Concord and Broken China to the entire background.


Extra texture for the background was achieved by stamping with Archival Ink and Carabelle Studio's art stamp XXL "Texture Chevron et Quadrillage"


I then watered down some white acrylic paint and added some splatters all over the page.


It is a bit hard to see in this photo but they are there


To create the flowers I took some book paper and coloured them with an assortment of Thinking H2O's. I used at least 2 shades of each colour and some gold on each of the sheets.


I cut circles in varying sized from the book paper and stuck them to my page using Gel Medium but they faded too much into the background for my liking so I cut more circles from the book paper and corresponding circles from white cardstock to put behind the book paper to make it stand out from the background more.


I attached these with the same Gel Medium. They definitely stood out more but were not really as dark as I would probably have liked.


Outlining the focal points was next. For this I actually used a normal biro. I have done this before and found that it is not waterproof so if you are going to do this be aware of that. This made everything stand out much better.


Now the fun part. Lots of doodling and decorating on the flowers. The white detailing on the flowers is done with a very thick acrylic  (Duncan Scribbles) that I have had in my stash for about 10 years. It is very similar to the Viva Pearl Pen


When I was happy with that I used my Faber Castell Big Brush markers and some water colour paints to add some shading around the flowers and leaves. I used some Gellato's to add a blended border to the page

I added some scribbly details with a Sharpie to the outlines of the flowers and leaves just for a bit of whimsy


 Lastly I added the title with shading.


Hope you have enjoyed my tutorial and I would love to see any pages that this tutorial may have inspired you to make.

Till next time
Hugs