

Hello and welcome to the blog. It's Narelle here. Today I have a really fun technique to share with you. I am calling it the Look Through Card. That's because you can look through the front of the card. Not like a peekaboo card or a card with a window in the front panel, this is different again.
Let me show you the card, then I will explain how to do it.
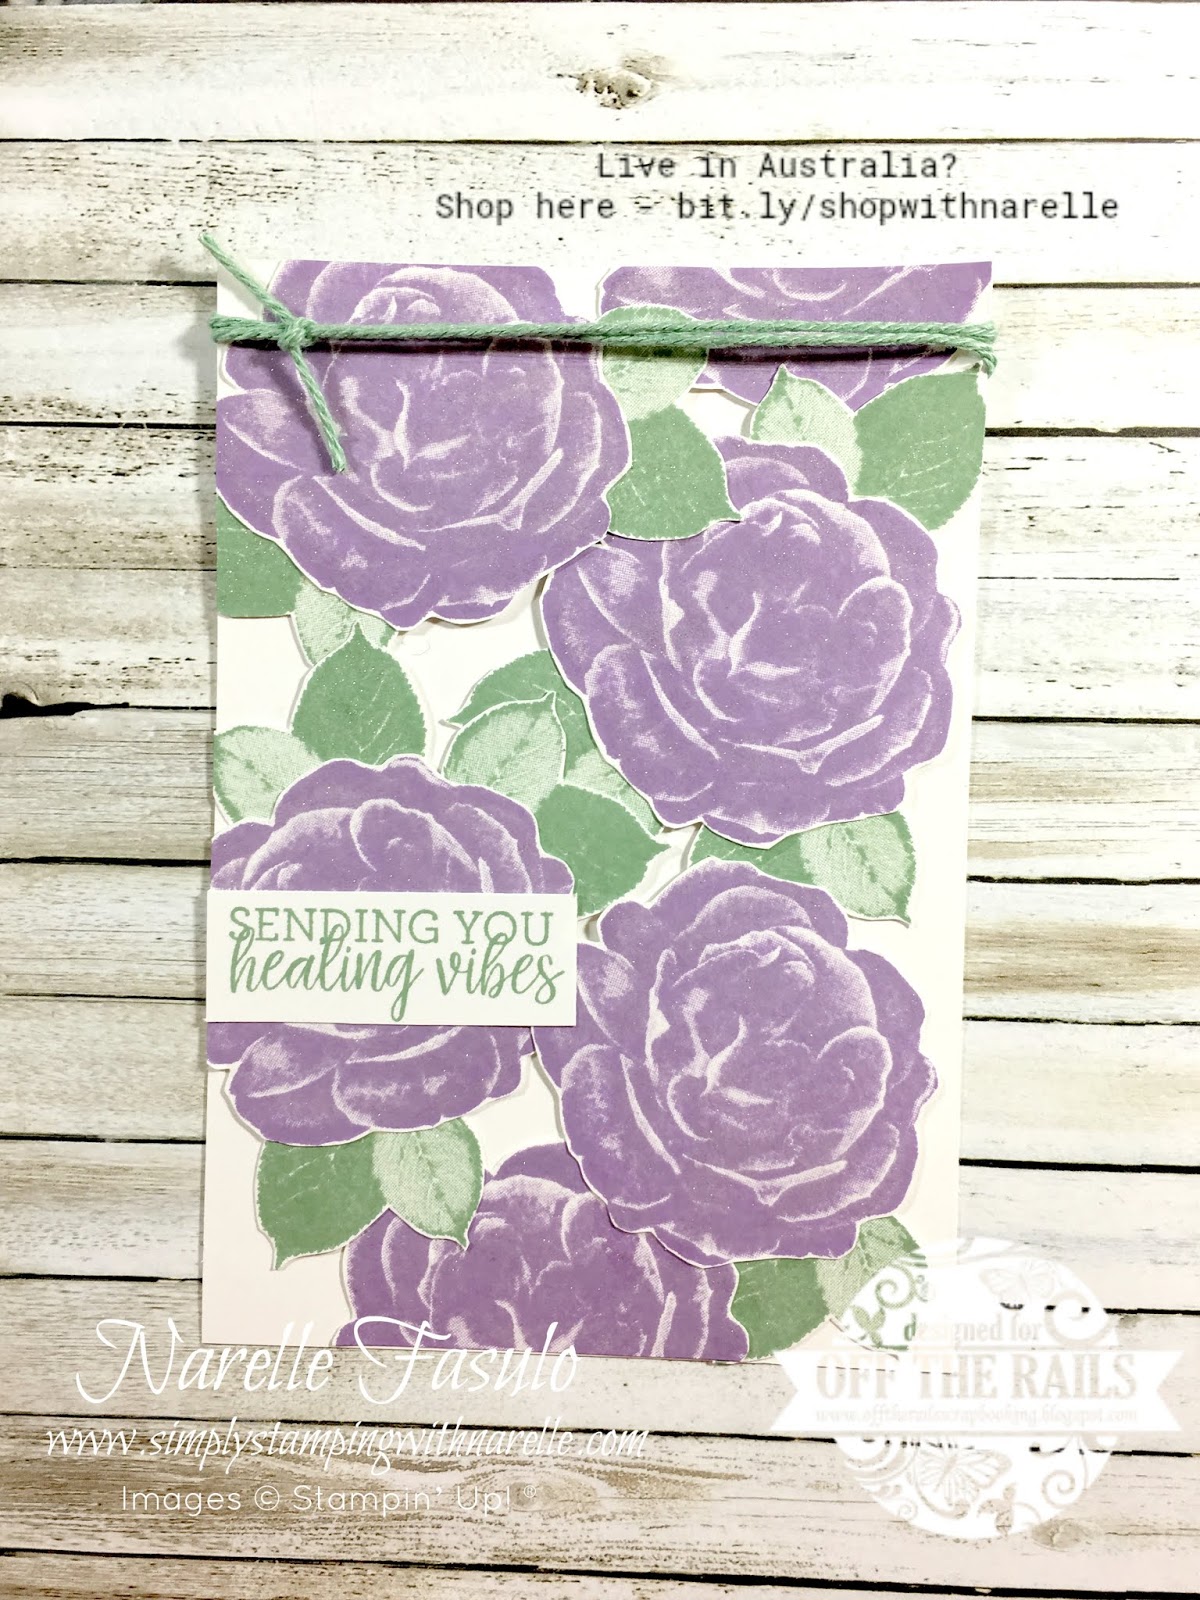
So here it looks like jut a pretty floral card. But it's when you stand it up and open it, the magic happens.

You can see that there are gaps between the flowers. You can look through the card front.
Here is how you do it.
Start with a piece of card stock, or a sectioned piece of scrap paper, that is the same size as your card front. This is what you will use as a guide to place your elements. Choose a largish stamp as your main stamp and at least one other stamp. Here I have chosen the Healing Hugs stamp set as the flower is quite large.

Stamp your elements onto scrap Whisper White card stock and then cut them out. Use your largest stamp as a rough size guide to know how many to stamp.

Next cut out your stamped images and arrange them onto your card front sized piece of card stock. Do not glue them down. At this stage you are just arranging them in a pleasing way. Make sure that the elements overlap as this is where they will be glued together. This is what keeps them in place and creates the card front. When arranging your elements be sure to keep some gaps so that you can see through.
For my card, I arranged them on a sectioned card front size drawn onto my scrap paper. I then glued them together and when dried, placed it over the card front piece of card stock then trimmed the parts that were hanging over.

Then you need to score across the top of the card front to create an area to glue to the card base. This can be a little difficult as you don't have a straight edge to line up on your trimmer.


Glue this flap to the card base, and you have finished the base of your card. Decorate as you like but try not to cover the gaps between the elements.
I just added some twine, a sentiment and gave all the elements a coat of clear Wink of Stella.

I hope you try this technique soon. It is a little time consuming, but the effect is well worth it.
Thanks for dropping by.
Have a great day.
Cheers,
Narelle
Genius!! It's so gorgeous. I totally love this and want to try it. I am pinning your technique because otherwise I will never remember where I found it when I want to give you credit. lol...
ReplyDeleteThank you for sharing.
<3 J
jwoolbright at gmail dot com
HerPeacefulGarden.blogspot.com