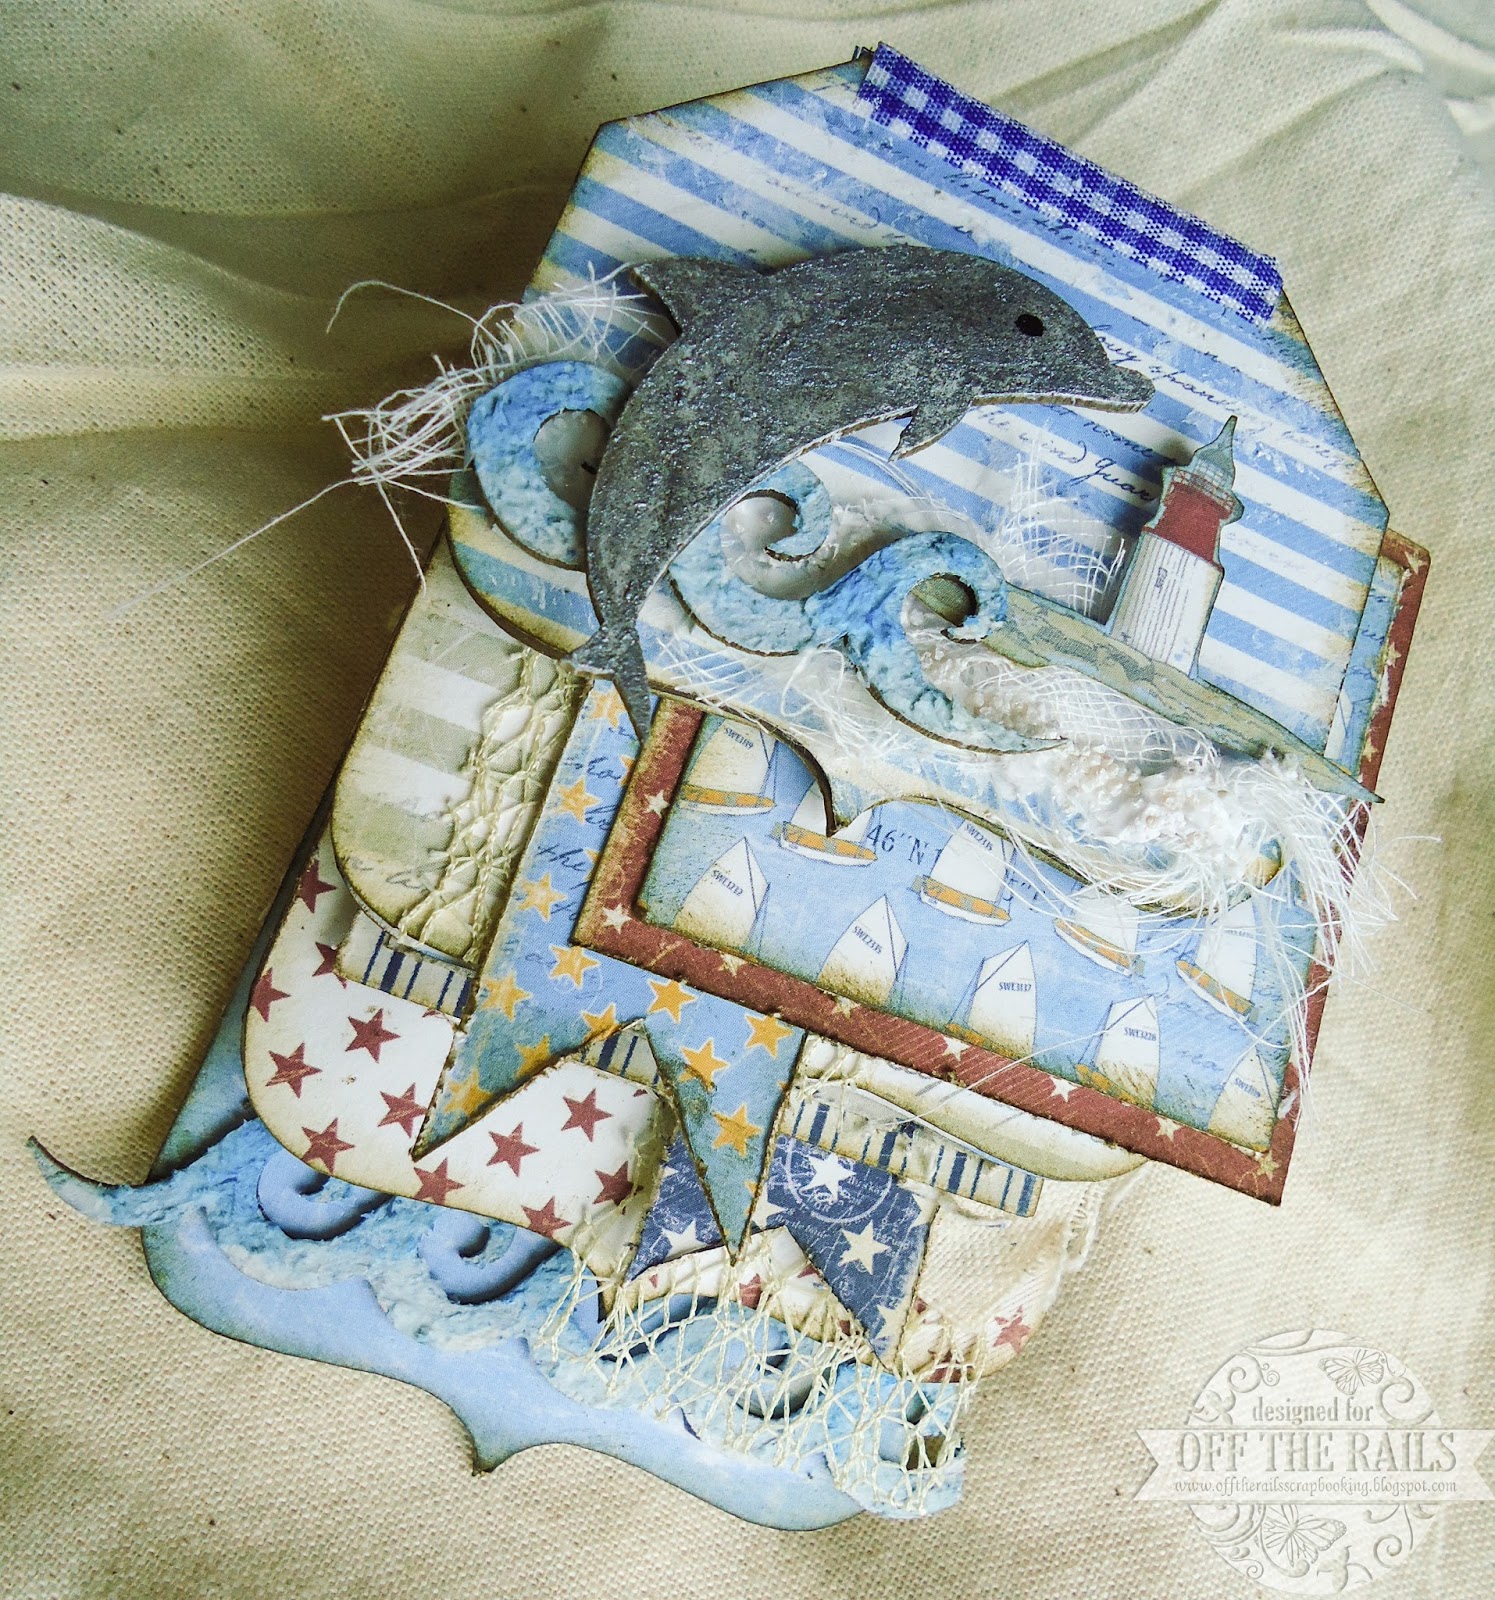
Good day friends of Off the Rails Scrapbooking!
Today I'm bringing you a short tutorial on a different way of putting your mini-album pages together. Unfortunately, this will also be my last post for OTRS as I prepare for my new baby's arrival, so I will be missing everyone!
Step 1
Here are my starting materials: a chipboard album base and my 6x6 paper pad. You can see that there is a ring and piece of twine for securing the album pages together and that is usually what most people would use. But my pages tend to be very dimensional so using these will make my album look overly chunky and stuffed. So I changed the way of securing these pages together so that the finished album look just nicely filled out.
Step 2
After trimming out the papers for each piece of chipboard, I trimmed out 3 more small pieces of patterned paper (0.75" x 1.5") and scored them at 0.25" and 0.5". The two ends of the fold goes under the patterned paper, with a nice margin of 0.25" in the centre for the desired thickness between each page.
This is what the spine should look like after assembling all the papers.
Step 3
I measured and trimmed out another sheet of pattered paper to glue over the spine. This does two things: (1) to reinforce the spine and (2) cover up the bare chipboard.
Step 4
Further reinforcement of the spine using fabric tape.
And this is the finished album with photos of the inside pages.
And that is all I have for you today. Thank you for all your support and I will see all of you soon!
love,


.png)
Cool project Melissa. TFS.
ReplyDeleteLove your work and we will miss you on the DT. Best wishes to you and your family (present and future). xx
Such a gorgeous project. Farewell Jelissa, best wishes for you, your bub and your family, we will miss you xx
ReplyDeleteThis project is Stunning!!! Thanks for sharing!!!!
ReplyDeletelove that paper.. fabulous project
ReplyDelete