
Hi everyone! Monica here to share a "mini" tutorial with you all :) I love the look of the premade mini albums you can buy that look like little clipboards with the pages hanging down. Instead of buying the premade one, I came up with my own version! Read on to find out how I did it...
Faux Clipboard Mini Album
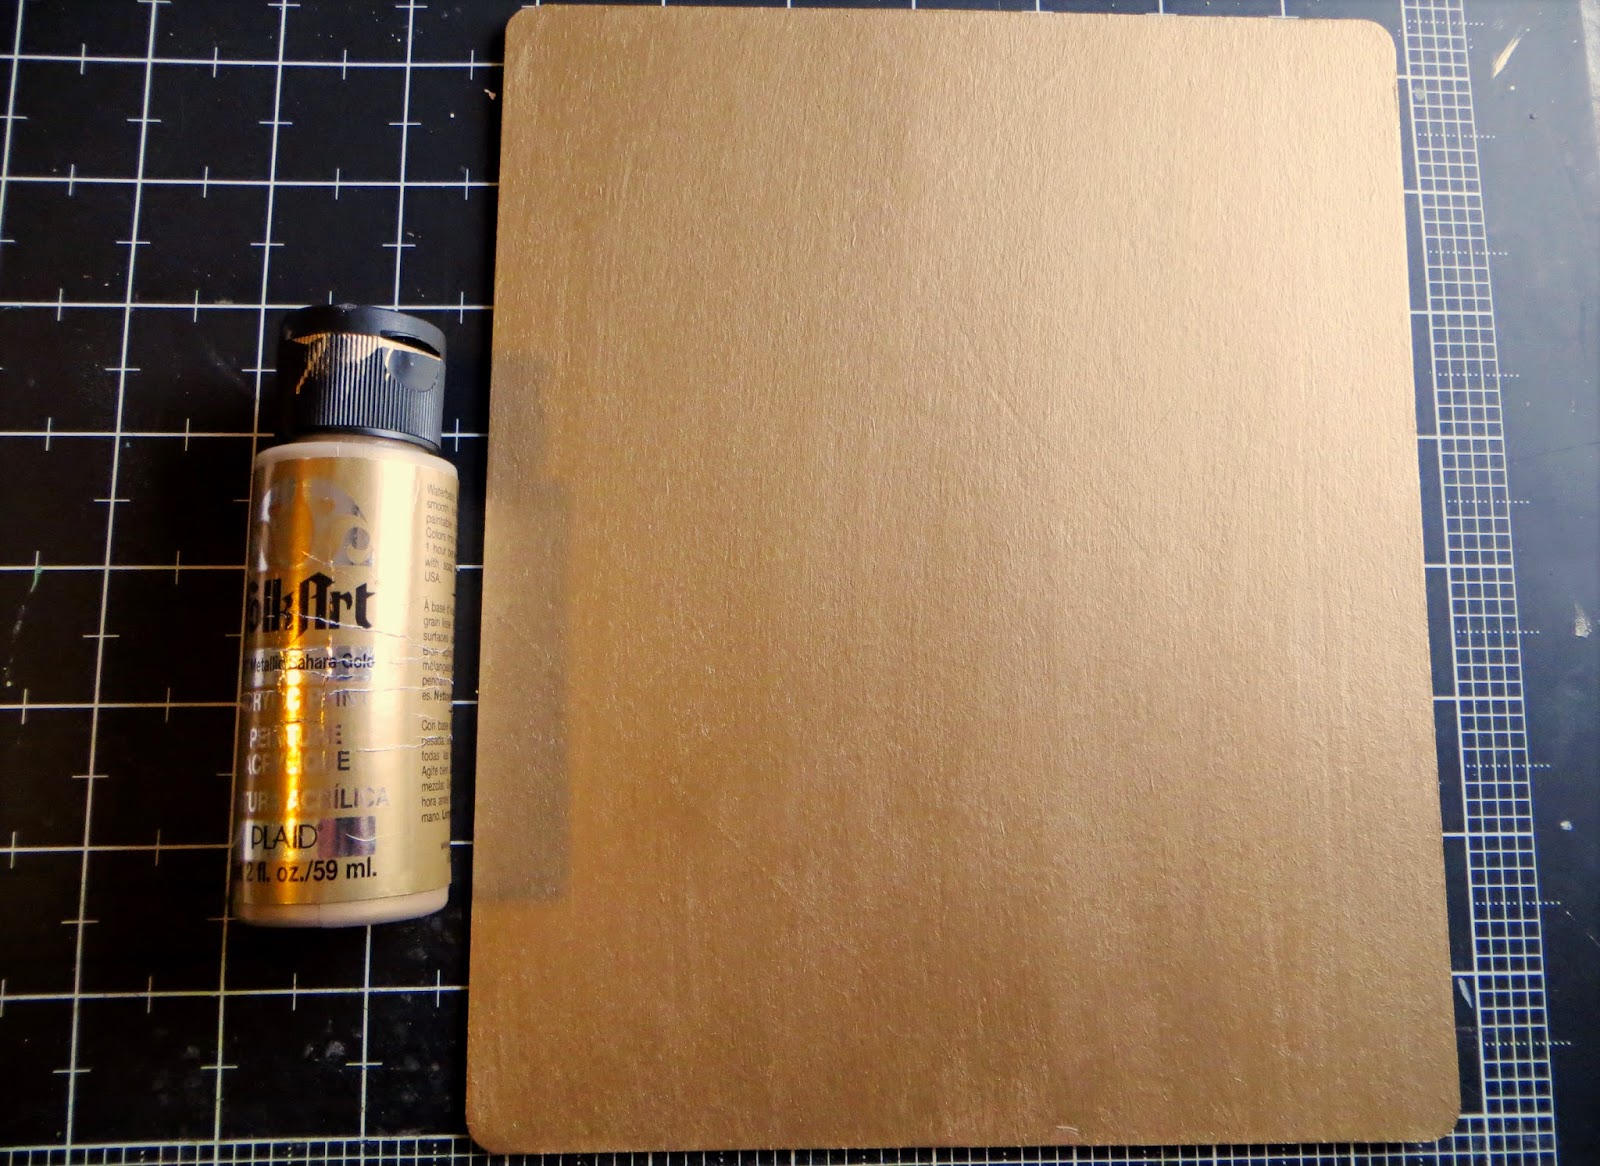
(Step 1) Gather your supplies:
-thick piece of chipboard
-transparency, clear or patterned
-paint + brush
-2 binder rings (I used 1.5", but 1" would work)
-corner rounder punch
-hole punch

(Step 2) Cut the sheet of chipboard to size. Mine is 7x8.5". You could also do 6x9" or a smaller version. I also wanted to note that a sheet of cardboard would work just fine if you do not have chipboard. I have done one before where I tore one side off to reveal the corrugated cardboard underneath, and it looked really neat!

(Step 3) Round the corners. I used the Corner Chomper, which goes through chipboard easily. If you do not have one, you could also just leave the corners square.

(Step 4) Paint the base of your mini book, both front & back. I used a slightly metallic bronze shade to resemble the wood of a clipboard (Metallic Sahara Gold by Plaid).
(Step 5) Punch holes for the binder clips. I did mine 1-1/4" down and 1-1/2" in on each side. I tried using the Crop-a-dile, but it didn't reach far enough. So I busted out my old Making Memories hole punch, which worked great! (I knew it would come in handy for something!)

(Step 6) Before beginning the inside pages, I made a cover out of a transparency to protect the inside pages and provide a sturdier cover. This, along with the inside pages, measure 6x7". I added my dimensional embellishments on the outside, to go along with the first page. I also sewed a bit along to bottom to add a little something extra.

(Step 7) Create your inside pages, and attach them to the base with binder rings. Ta da! A faux clipboard mini album.

(Stay tuned to see the rest of the inside pages on my blog: http://monicalifeasme.blogspot.com)
I hope you enjoyed this simple tutorial!
What a gorgeous project!!
ReplyDelete