
Hi All, it's Deena here today sharing with you a fun tutorial that you can do so much with.
Have you ever been looking for the right background stamp and just could not find it well why not create it yourself. All it takes is for you to let your imagination loose and use what ever you can find.
The first stamp that I created I used the following items:
Hot Glue Gun
1mm thick cardboard
1mm thick cardboard

I started out with my piece of blank cardboard which is 13 cm x 9.5 cm, heated up my glue gun and away I went drawing, the finished design below

The photo above can use see those annoying thin stringy bits of glue when I have a little secret that I am going to tell you of how to get rid of them.
Once your hot glue is dry blast them with your heat gun and they melt away like magic, see the after photo below. No stringy bits.

Next I sealed my background stamp, not really necessary but will make it that little bit more durable and easier to clean the ink from its surface. I used X-Press It TripleTac to seal my
cardboard but any type of sealer will do.

cardboard but any type of sealer will do.
Once the TripleTac was dried I inked up my stamp and I am rather please with the result
You can also create the same stamp on a piece of copy paper.
You can also create the same stamp on a piece of copy paper.

So after this success I got to thinking what else do I have in this room of mine that I can create another background stamp with. I opened up my cupboard and one of my huge jars of buttons caught my eye (I have 5 jars of button, it's not an obsession really it's not).

I used the another piece of the 1 mm thick cardboard but this time I spread the TripleTac over it first and then i stuck my buttons down.
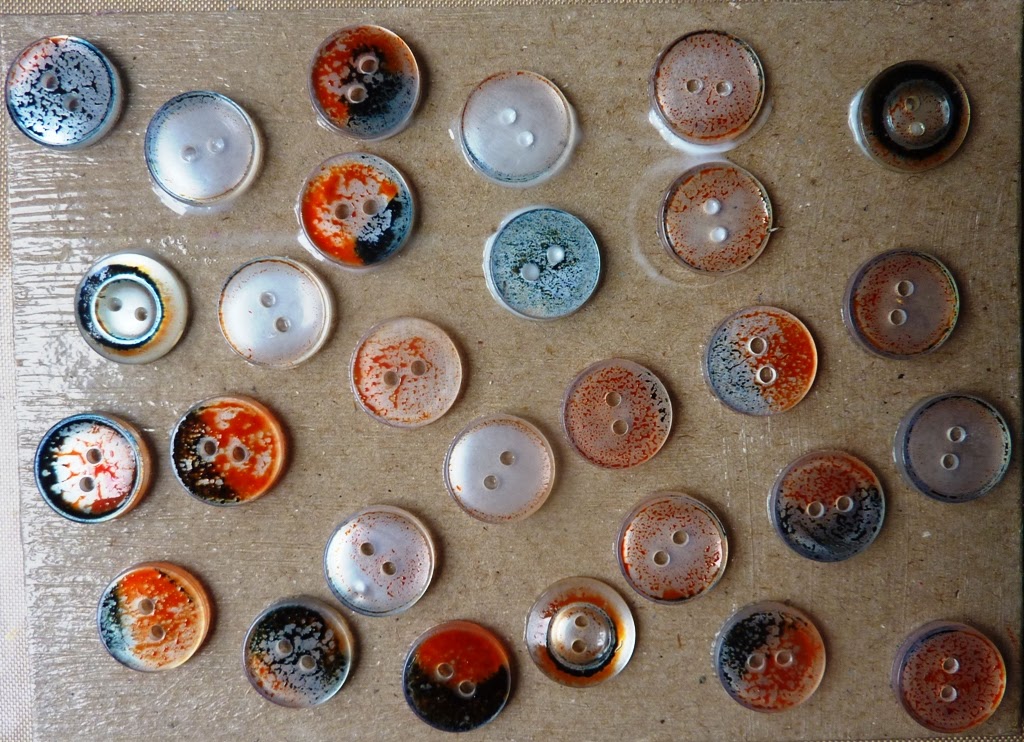
I decided that I was going to use two different coloured inks on my buttons and this is the result that I got.

All these ideas are buzzing around my head now.
Next time you are looking for a background stamp why not try and create one of your own.
Happy Creating
oooooooo love this.
ReplyDeleteFantastic!!!
ReplyDeleteSo creative....Love it!
ReplyDeleteThese look great!! very inventive!
ReplyDeleteWow! What a fabulous idea.....now I must get stuck into my SMALL [cough] collection of buttons:):) TFS:)
ReplyDeleteboth of these are awesome idea's... =D
ReplyDeletefabulous Deana thankyou so much
ReplyDelete