
Morning everyone, welcome to my blog and my latest tutorial for
Today I have a tutorial on how to make a box for your cards using A4 card stock. You will need 2 pieces of A4 card plus papers to decorate with.

You can use this method for any size box.

To find the measurements you will need to -
Measure card. Add a quarter inch or 1/2 extra, depending on how thick your card is. For a thick embellished card-
i.e my card is 6 x 6 inches square -
so I need my card stock to measure 6 + 1/4 inch plus side panels.
I have made my side panels 1 inch in depth. You can make them any depth you like. Cut your A4 card to 6 + 1 + 1 + 1/4 = 8 and 1/4 inches square. This makes the lid.
To make the base just cut off an 1/8 inch extra, so your square will measure 8 and 1/8 inch square.
INSTRUCTIONS


 Before you glue the box together, make sure you take a circle punch and cut a half circle on opposite sides of the lid


Make a card to match

That's all for today. I hope you followed along.
Measure card. Add a quarter inch or 1/2 extra, depending on how thick your card is. For a thick embellished card-
i.e my card is 6 x 6 inches square -
so I need my card stock to measure 6 + 1/4 inch plus side panels.
I have made my side panels 1 inch in depth. You can make them any depth you like. Cut your A4 card to 6 + 1 + 1 + 1/4 = 8 and 1/4 inches square. This makes the lid.
To make the base just cut off an 1/8 inch extra, so your square will measure 8 and 1/8 inch square.
INSTRUCTIONS
You will need A4 card x 2 pieces
Score board, scoring tool, scissors, paper trimmer, glue
6 x 6 card blank, pearls to decorate, flower dies.

Cut one A4 sheet to 8 1/4 inch square
Cut one A4 sheet to 8 1/8 square

Score 1 inch on all sides of both pieces, fold and crease all sides

Cut out tabs on opposite sides of the squares for the lid
you will have 4 tabs cut. Nip out a tiny wedge on each section of the tab
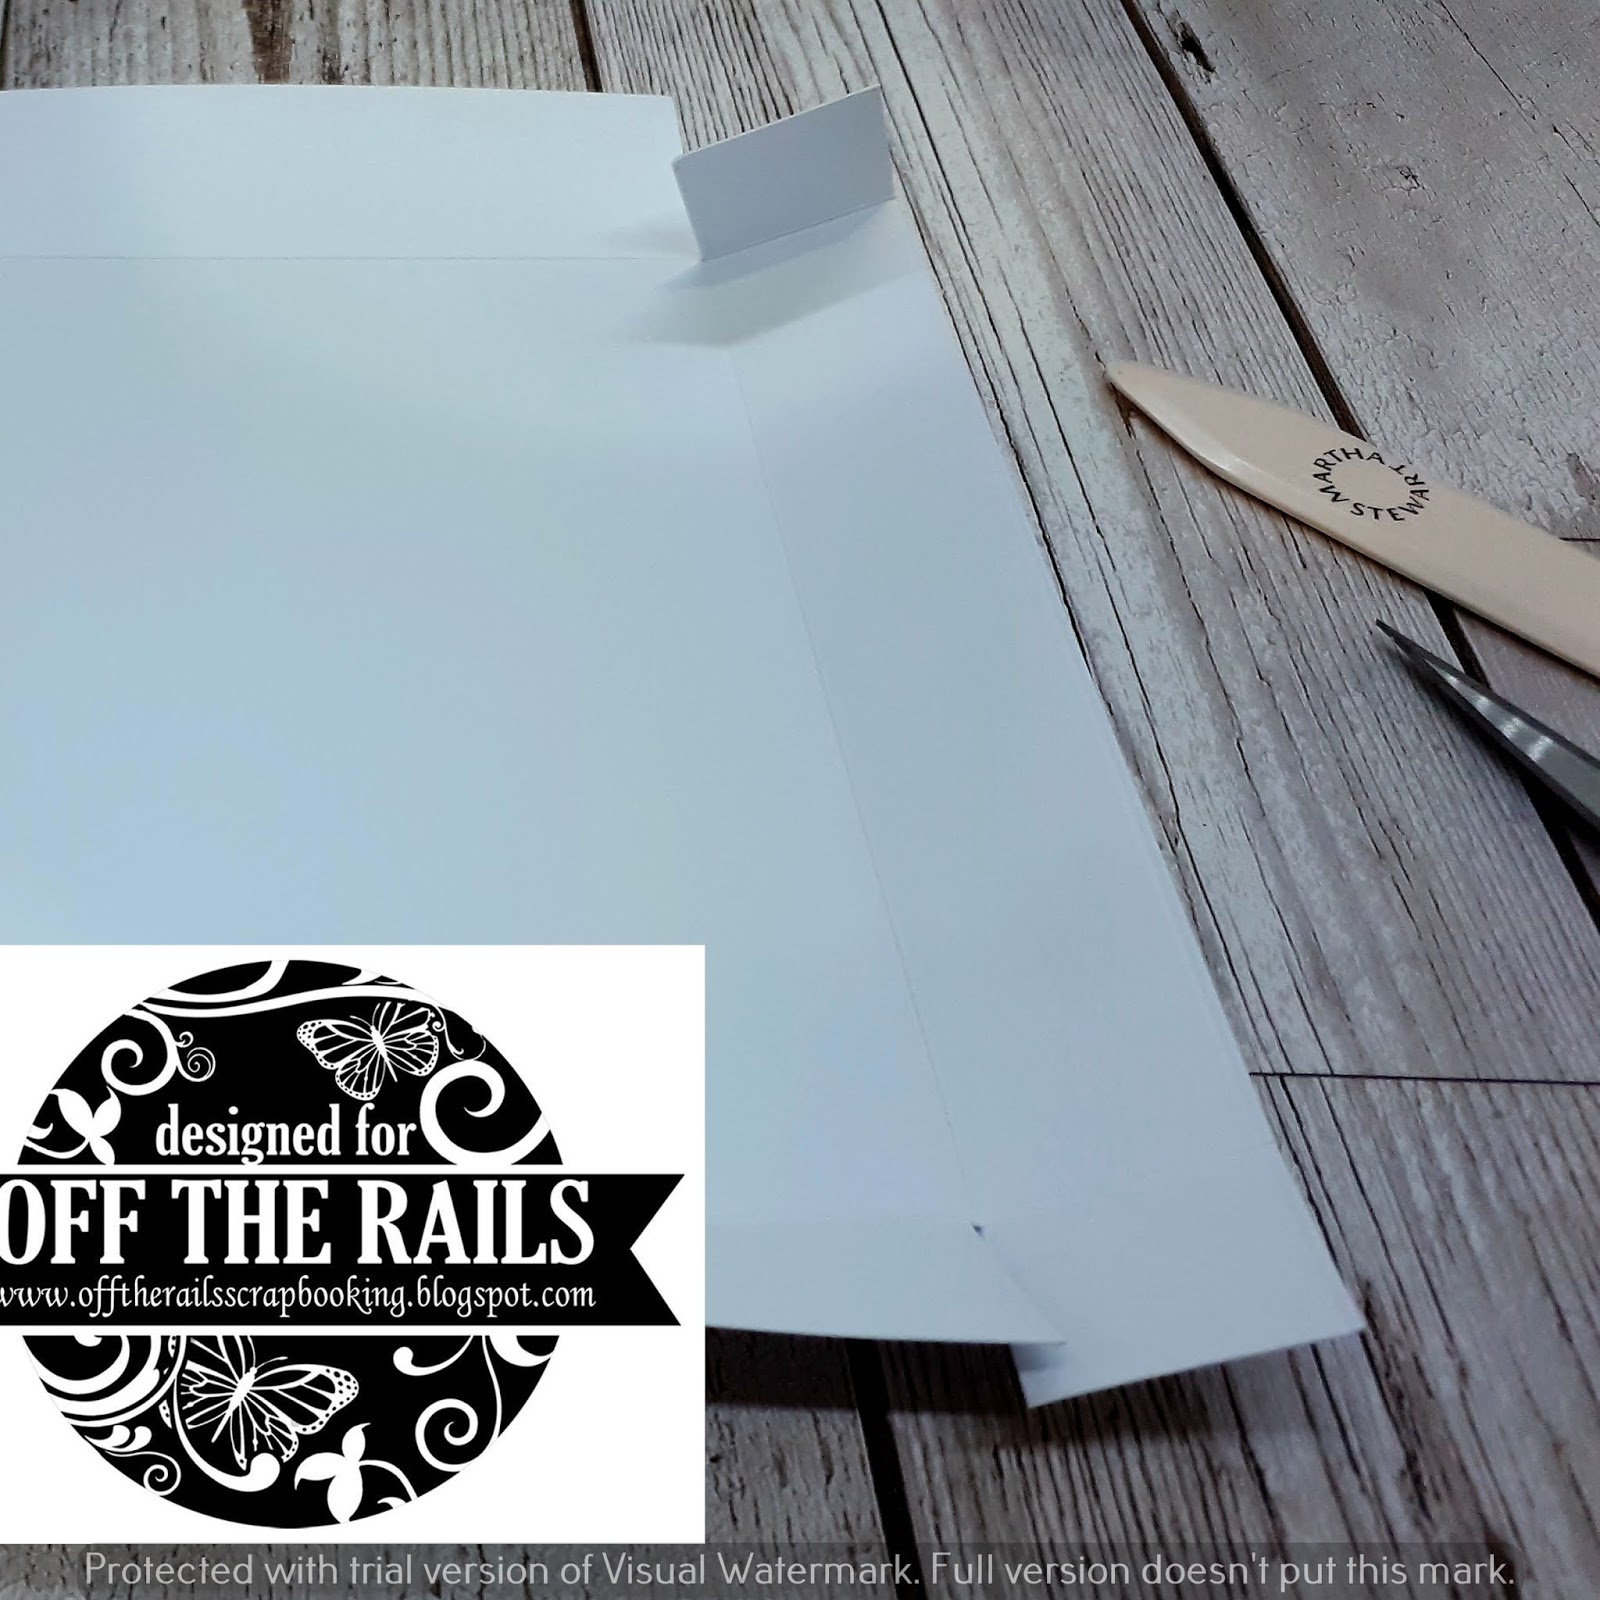

Next add glue to the front of the tabs like this

Glue all four tabs down and hold the corners together with clips until dry

You should have two sections like this

You are now ready to decorate
Add an inner piece of card to the base then cover the lid

I also covered the sides of the lid with pretty paper and
decorated the lid with lots of paper flowers


BYE FOR NOW
xxx
No comments :
Post a Comment