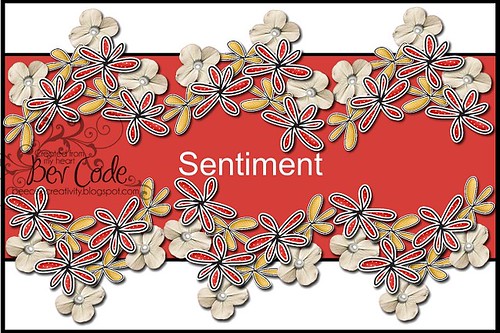
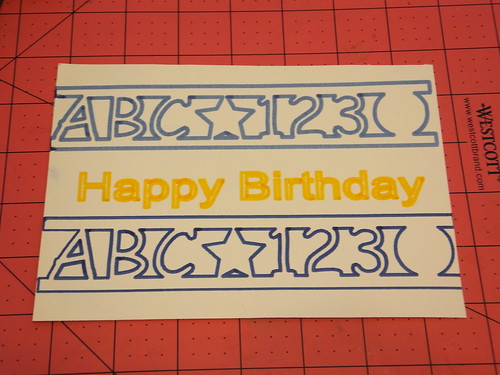
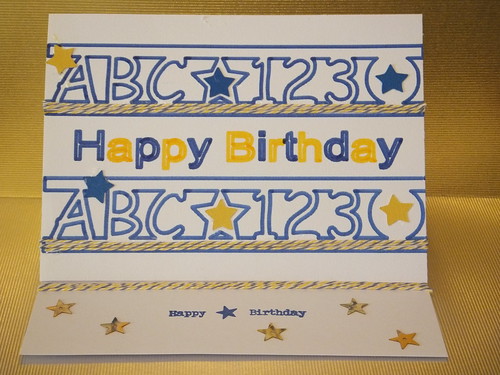
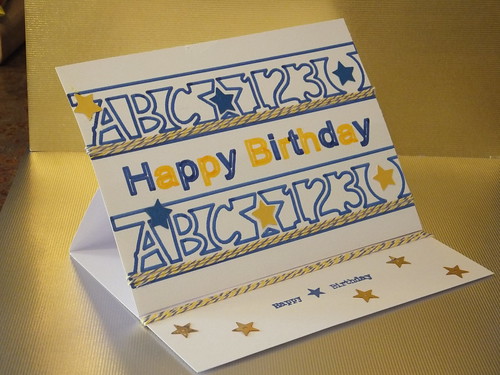
 I am super excited to be mixing a fun technique and the sketch. (above) So using the sketch I wanted to try something different! If you own a cricut or silhouette/Cameo etc and own the pens/markers I challenge you to create starting with the use of these pens/markers and your machine. If you don't own those listed in #1 then I challenge you to grab some crayons, pens, markers of any kind to do some part of your card following the sketch even if it's only the sentiment.  I used my Cricut and designed it following the sketch. Photo shows first attempt and decided to do it again and alternated blue and yellow for a pop of colour. (photo below)  To this I added cricut cut stars and super fun twine borders. Also made this an easel card base so needed to work on the border section which I stamped the sentiment in centre, added a border with twine and then glued on some shiny sequin stars to finish it off.  Here is the view to see the easel shape of the card. Also I am adding the quick instruction sheets for you to follow. |
Supply List:
Paper: prebought card base and envolope
Cardstock: cut 5x7" front
Cut files: Cricut
Markers: Cricut markers
Twine: Bella Creationz Timeless Twine
Sequins: Bella Creationz
Stamp: Bella Creationz
Ink: Color Box
Thanks for stopping by.. sure hope to see you again soon.


Great card Bev!
ReplyDelete