"Congrats" Cards
I made 2 wedding cards with doily diecuts. Added glitter glue to all flowers.
I pop up the doiles with foam tape to create abit of dimension. These are so easy and fast to assemble.
Die cut the words from foam sheet with Lawn Fawn Congrats die. Layered 2 pieces of the butterfly punch outs.
Love the carriage diecut from Tattered Lace. Colored the Imaginarium Designs "Congratulations" chipboard with Metallic Black acrylic paint.
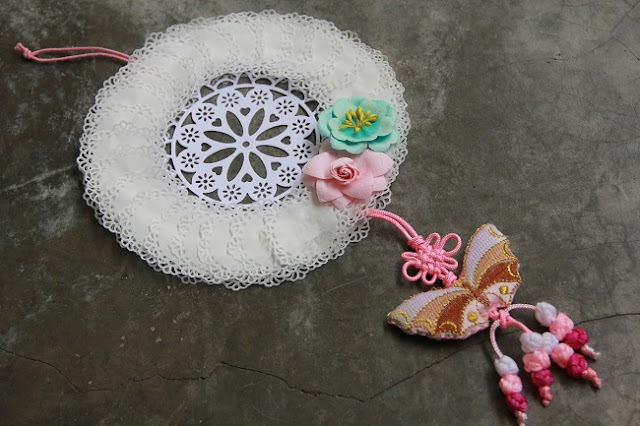
"Pastel Doily Ornament"
Chinese New Year (an important festival for all Chinese) is coming on Monday and being one who don't like too much red and gold(the "lucky" colors for Chinese New year), I made my own hanging ornament for my home deco. Thinking of using the dream catcher concept. Doilies are the perfect touch coupled with the pink Chinese knots/butterfly ornament. Here's how I made it:
Made the ornament with these 2 dies.
Diecut few pieces of thin cardboard or thick paper with the Sizzix wreath die. Layered and glue them together to make the solid base.
Use a diecut doily and glue to the wreath base.
Layered another piece of cardboard wreath.
Diecut many pieces (I used about 27 pieces per side x 2 sides) of tiny doilies with MFT die. I used the glassine paper bag as its quite light and thin (looks like the baking type of doily).
Punch holes to add string and Chinese butterfly knots.
Layered and glued the mini doilies around wreath base. I used Aleene's tacky glue for this.
Hope you enjoy my sharing and my simple tutorial. Happy crafting. And Blessed Chinese New Year to all who celebrate.
Thanks for dropping by.


Sweetness!!!
ReplyDelete